Key takeaways
10 min read
Key point 1
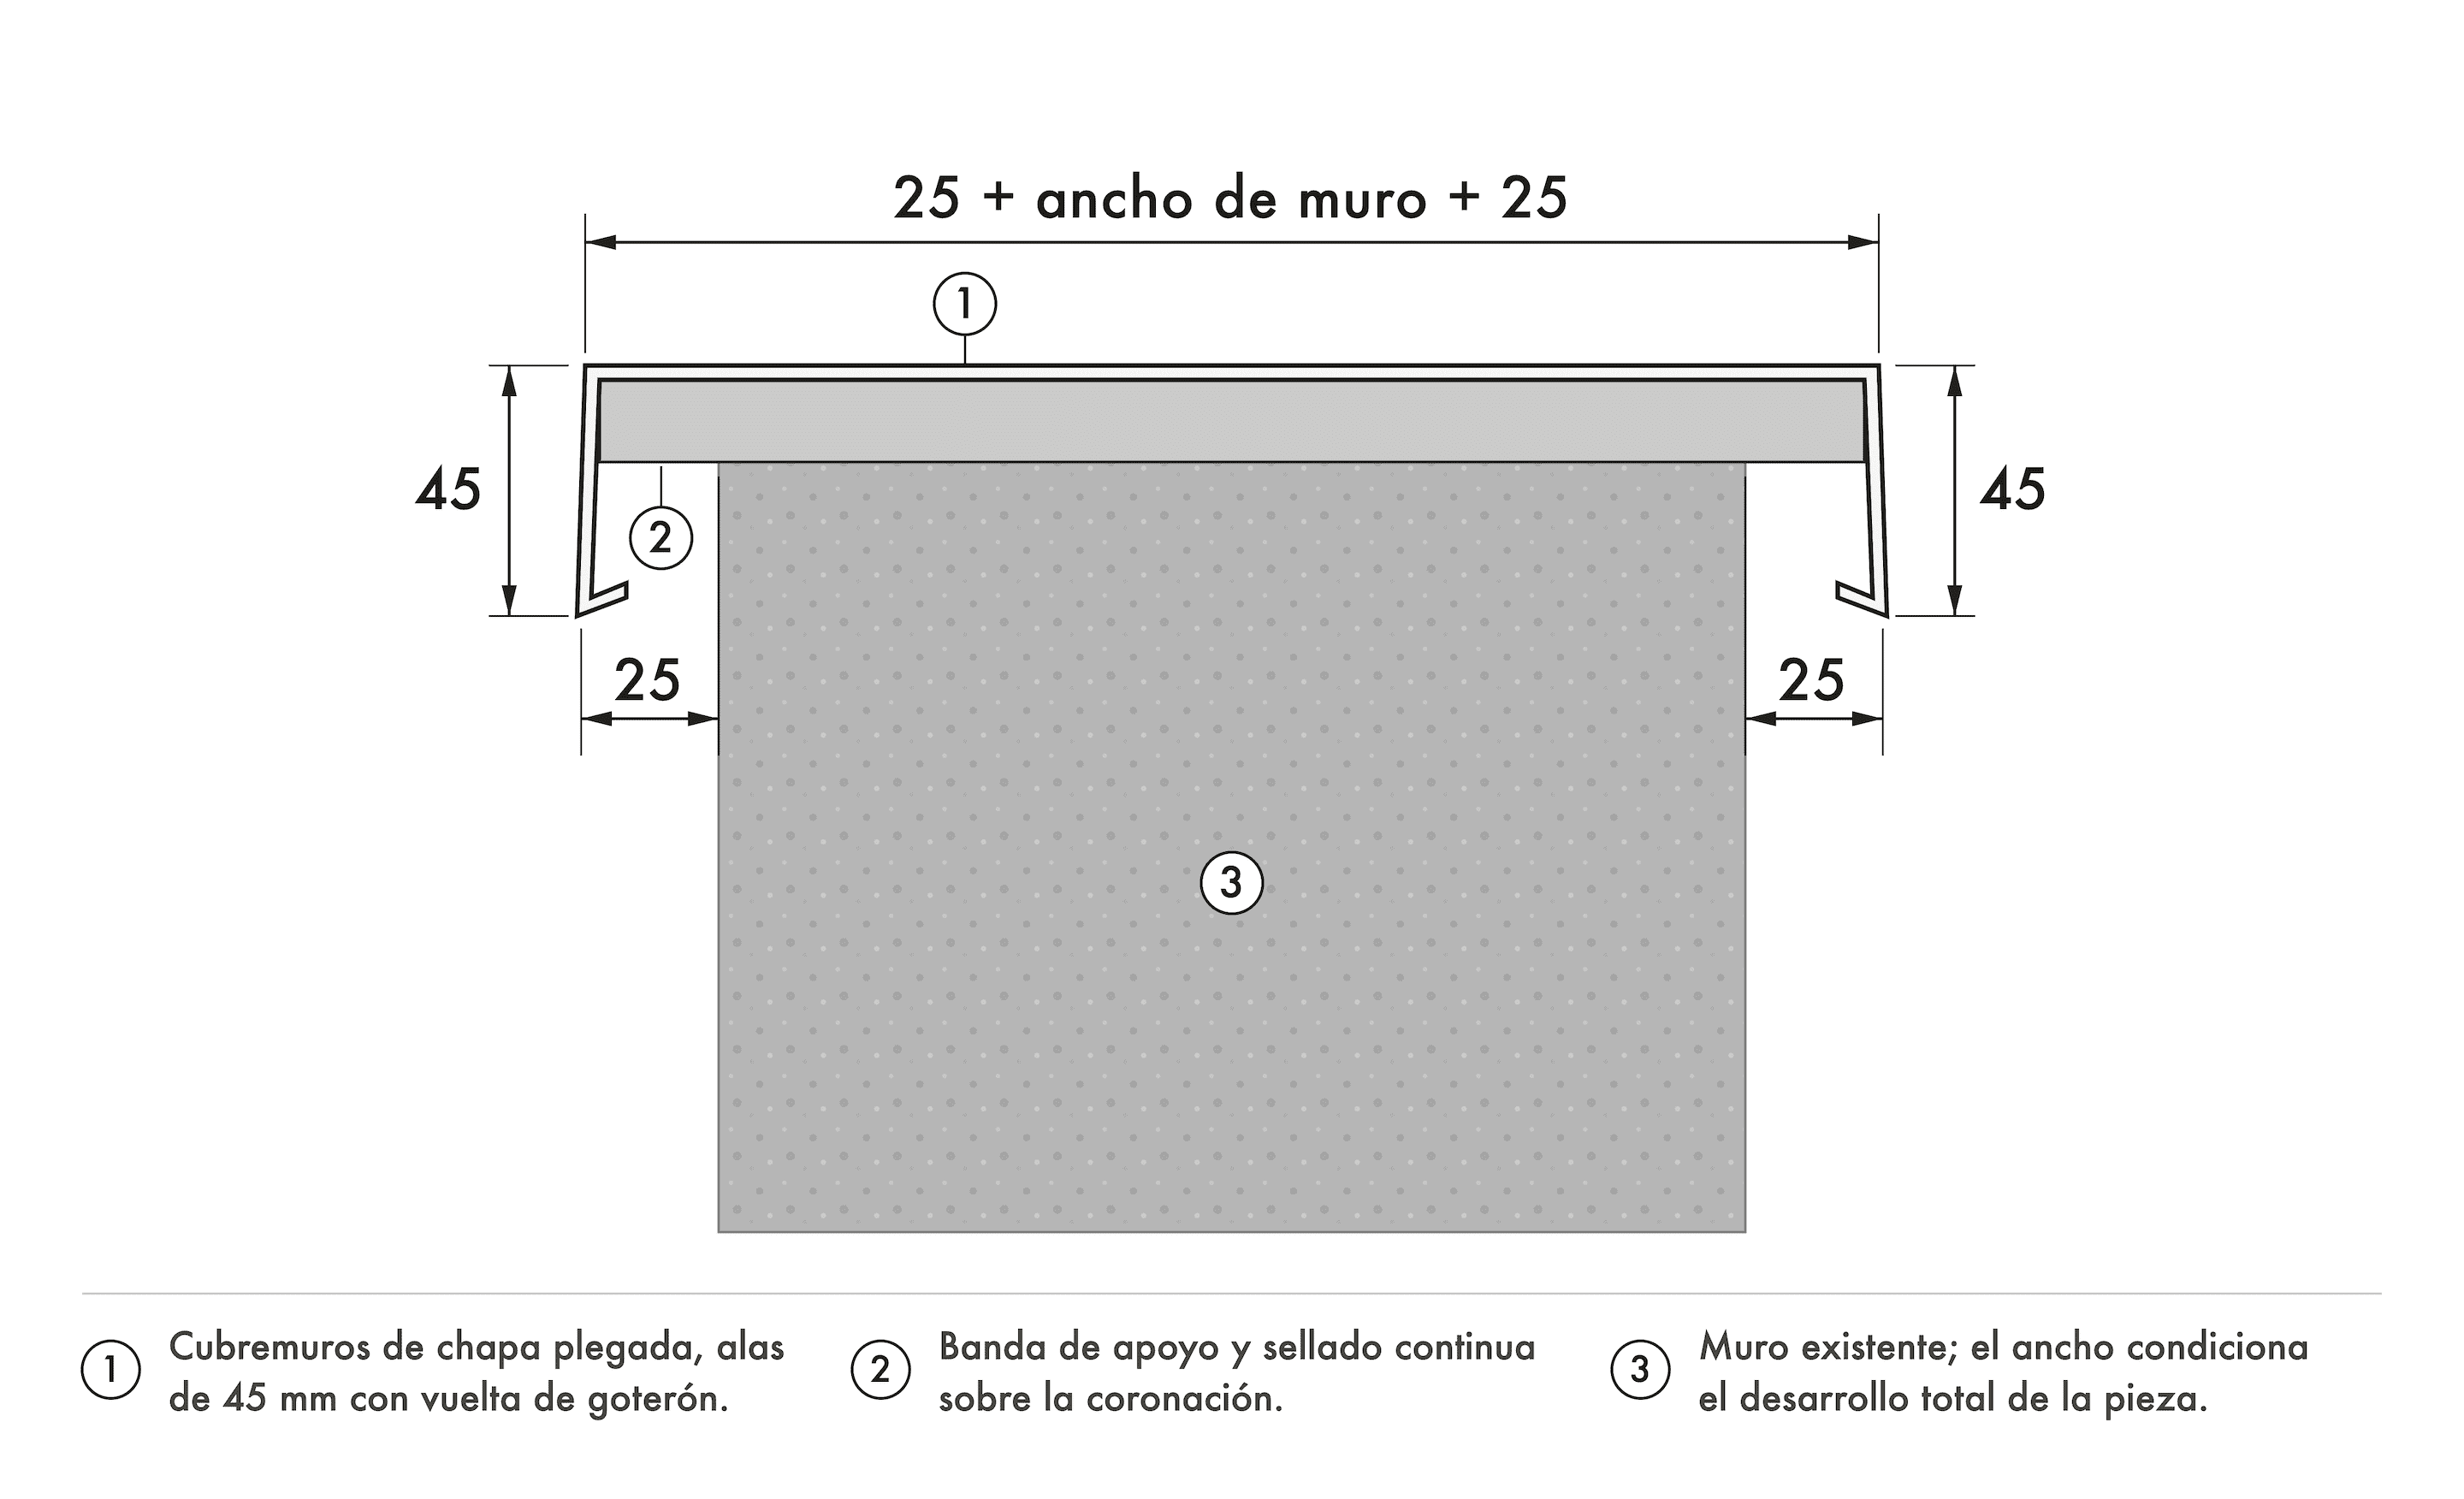
Width to order: wall + the full ETICS thickness (insulation, base coat and finish) on each insulated face. A 250 mm parapet with 80 mm of ETICS outside needs a coping of around 335 mm.
Key point 2
Drip: at least 2 cm clear of the wall face, measured from the outer face of the ETICS render, not from the masonry. Minimum fall: 10°.
Key point 3
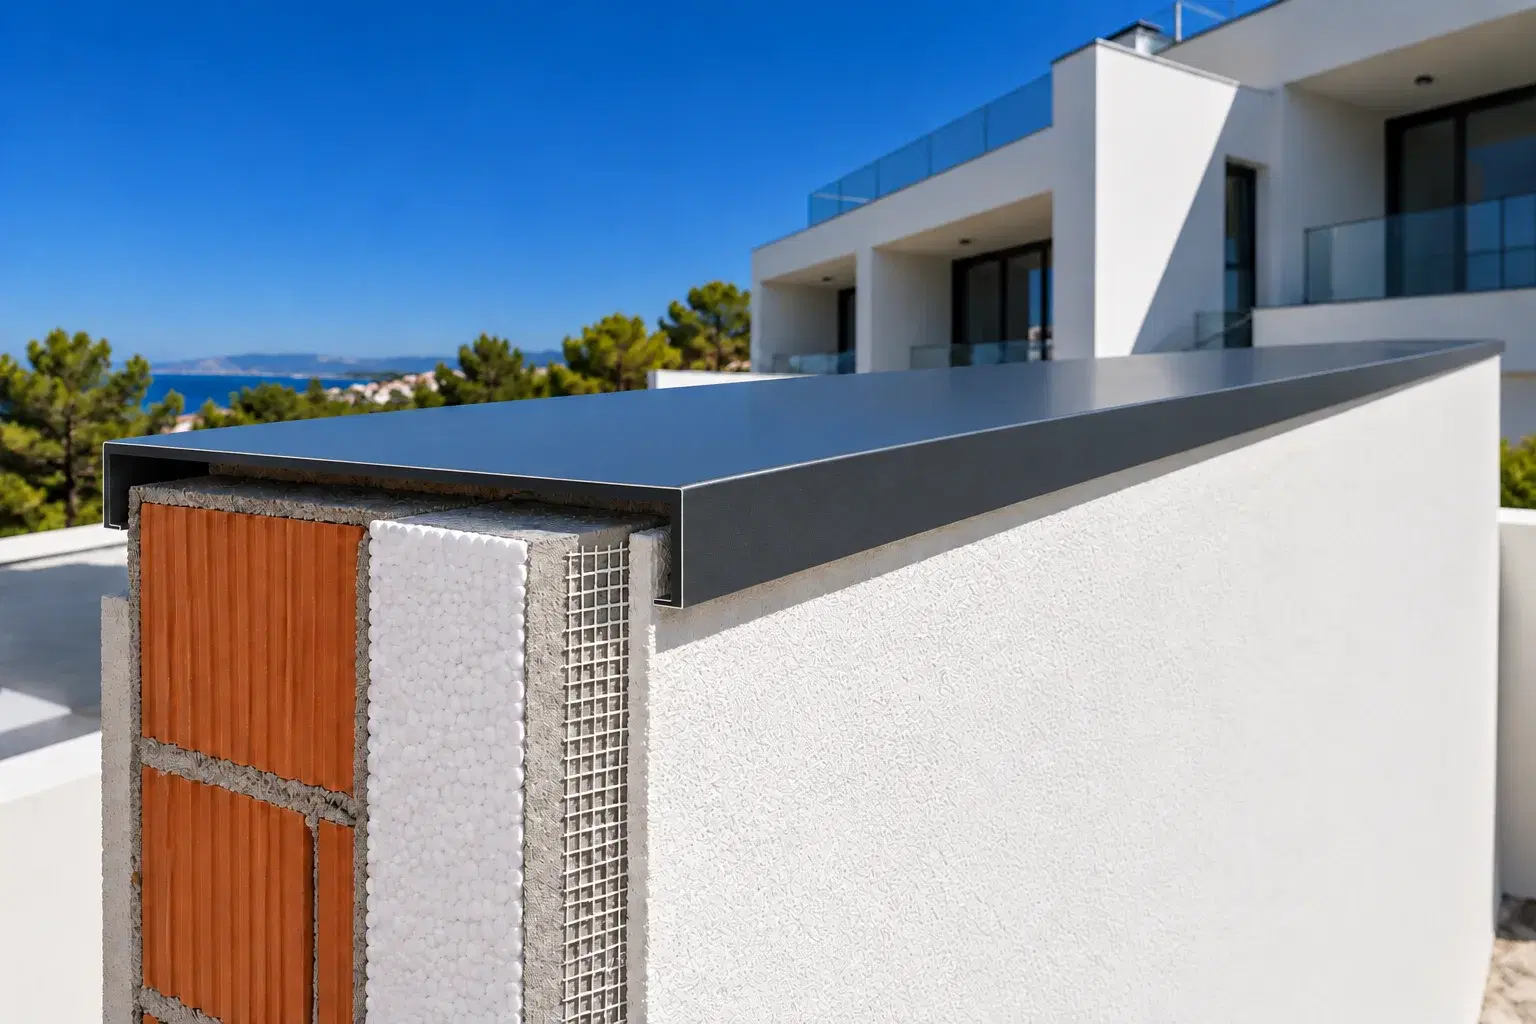
Build sequence: the coping goes on before the facade insulation, with expanding sealing tape or an elastic joint of around 5 mm at the junction. Never mortar or render against the metal.
Key point 4
Fix into a strong substrate, not into the insulation. In refurbishment the old coping rarely works: after ETICS its drip ends up inside the new facade line.
In this article
- Why the Wall Top Is the Weak Point of ETICS
- What the Codes Require at Parapets and Copings
- How to Measure: The Width Includes the Insulation
- Overhang and Drip: Where the Water Lands
- Insulating the Wall Top and Forming the Fall
- Build Sequence: The Wall Top Goes Before the Insulation
- The Joint Between the Coping and the ETICS
- Fixing: Into a Strong Substrate, Not the Insulation
- Refurbishment: What to Do With the Existing Coping
- Made-to-Measure ALU-CLICK® Copings for ETICS
- Frequently asked questions
On roof parapets, terrace balustrade walls and boundary walls that get external wall insulation (ETICS), the wall top is no longer a simple masonry surface: it's where the system ends and direct exposure to rain begins. A coping designed for an uninsulated wall won't work as-is. The width changes, the drip position changes, the installation sequence changes and the fixing changes.
This guide sums up what the codes require, how to measure, how to detail the joint with the system and what information is needed to make the coping to measure.
Section 02
Why the Wall Top Is the Weak Point of ETICS
ETICS (external thermal insulation composite systems) relies for its watertightness on a skin a few millimetres thick: the mesh-reinforced base coat and the finishing render. It works very well while water hits it from the front. It works far worse when water gets in from behind.
And the wall top is exactly where water can get in from behind. The top edge of the boards, the edge of the mesh and the end of the render are all exposed there. If that edge isn't covered, water gets between the insulation and the render and works its way down out of sight. The symptoms appear later and far from the source: bulging, cracking, damp patches tracing the board pattern and dark streaks at the top of the facade.
ETICS also moves the facade line outwards by its full thickness. A coping that used to project far enough now falls short, and water that used to drip clear of the wall lands on the render, the most delicate part of the build-up. So although the coping isn't part of the ETICS kit, it has to be sized for the finished facade and follow the system holder's instructions.
Section 03
What the Codes Require at Parapets and Copings
Every market regulates this junction in its own way — in the UK, copings and their detailing on rendered walls are covered by BS 5642-2 and NHBC Standards chapter 6.11 — but the physical requirements are the same everywhere. Spain's building code (CTE DB-HS 1, section 2.3.3.7) states them clearly and is a useful benchmark:
- Shed the water from the top with copings, or another solution that produces the same effect.
- A minimum fall of 10°.
- Drips at least 2 cm clear of the parapet faces towards which water runs.
- Watertightness, or a waterproof barrier underneath with an outward fall of at least 10°.
The "same effect" clause is what allows the wall top to be finished with a continuous metal coping, with far fewer joints than stone or clay units.
With ETICS, one detail changes decisively: the face the drip must stand 2 cm clear of is no longer the brick, it's the outer face of the render. If the drip is set out from the original wall, it ends up inside the new facade line and the requirement isn't met, even though the piece is exactly what was ordered. If the parapet is also insulated on the roof side, the same applies to the inner face.
Section 04
How to Measure: The Width Includes the Insulation
This is the most common mistake and the most expensive, because it isn't spotted until the piece arrives on site. The figure that drives the order is the finished wall-top width: the distance between the two finished faces of the parapet. With ETICS it's made up of:
- The thickness of the supporting wall, measured as built.
- The insulation thickness on each insulated face.
- The reinforced base coat and finish on each insulated face (technical guidance such as the IDAE guide recommends 3 to 8 mm of base coat, plus the final render).
An example: a 250 mm parapet with 80 mm of ETICS outside and about 5 mm of base coat and finish measures around 335 mm finished, not 250. If it's also insulated on the roof side, it grows to around 420 mm. With 140 mm of insulation on each face it exceeds 540 mm.
Watch the flatness too: ETICS corrects out-of-plumb substrates (the IDAE guide gives corrections of 20 to 40 mm per metre), so the finished width can vary along the parapet. If the ETICS is already installed, measure on the finish at several points and always at the corners. If not, calculate from the design and confirm the actual thickness at the wall top with the installer.
ALU-CLICK® is made from 70 to 600 mm wide, a range that covers most ETICS parapets. If wall plus insulation exceeds it, talk to us before the detail is finalised.
Section 05
Overhang and Drip: Where the Water Lands
The width tells you how wide the wall is; the overhang tells you where the water lands. The benchmark minimum is 2 cm and, as a reference for copings on masonry, Spain's clay-brick association Hispalyt describes overhangs of around 4 cm on each side. On an ETICS wall it pays not to stop at the minimum:
- The render is thin and can't absorb and dry out like thick render on brick. The less water reaches it, the better it ages.
- Rain doesn't fall vertically. With wind, a bare-minimum overhang sends some water back onto the wall.
- The insulation edge must be hidden under the coping's side drop, protected from direct rain.
- The inner face of the parapet takes splash-back from the roof; if it's insulated, it needs the same care.
And one key detail: the piece must not bear on the render. There has to be room for the joint between the drop and the ETICS, or the coping will crack it at the first expansion cycle.
Section 06
Insulating the Wall Top and Forming the Fall
A roof parapet loses heat through three faces and is one of the most common thermal bridges at the facade-to-roof junction. There are three approaches:
- Insulate only the outer face. The simplest; the thermal bridge is reduced but not eliminated.
- Wrap the parapet. Insulation runs up the outside, over the top and down the inside to the roof. It best maintains thermal continuity and produces the widest wall top.
- Project-specific solutions, such as lowered or lightweight parapets.
The choice drives the width, the fixing and the fall, so it has to be made before measuring. As for the fall, a profile laid on a level wall top stays level: the 10° has to be formed first, in the masonry or in the layer under the coping. ANFAPA, the Spanish mortar manufacturers' association, adds that large projecting elements should be treated like a roof.
Section 07
Build Sequence: The Wall Top Goes Before the Insulation
ETICS guidance such as the IDAE technical guide is clear: sills and copings go on before the insulation, so the joint can be properly waterproofed. At the junction it describes an expanding sealing tape aligned with the outer face of the board and compressed to about 3 mm. A sensible sequence is:
- Prepare the wall top: sound, dry substrate with the fall formed.
- Insulate the wall top, if the design calls for it.
- Fit the coping, sized for the finished facade.
- ETICS boards, run up to the junction under the drop, with the sealing tape.
- Base coat and finish, keeping the joint open and without running the render into the metal.
The practical consequence: the ETICS thickness must be fixed before the coping is ordered. If the insulation changes mid-project from 60 to 100 mm, the coping will be too short. If the programme forces the coping to go on after the ETICS is finished, don't cut back the system edge and don't rest the profile on the render.
Section 08
The Joint Between the Coping and the ETICS
Aluminium expands with temperature, especially a dark coping on a south-facing parapet, and ETICS render is a thin layer that cracks if it's forced to follow a rigid element. So this junction isn't closed up: it's detailed with a joint that is watertight and able to move. ANFAPA specifies a 5 mm elastic joint where the system meets copings; the IDAE guide uses expanding tape.
What not to do:
- Fill the joint with mortar: it becomes rigid and cracks the render along the coping line.
- Run the render up to the metal: it cracks at the first expansion.
- Rely entirely on a bead of silicone: it ages in the sun and its failure isn't visible until the stain appears.
The same applies between lengths of the coping itself. In ALU-CLICK® the gap between pieces is 4 mm in summer and 8 mm in winter, with watertightness provided by the joining sleeve and bituminous gaskets. Butting the lengths tight makes the coping buckle and push against the ETICS.
Section 09
Fixing: Into a Strong Substrate, Not the Insulation
On roof parapets, especially at corners, wind suction can be considerable. Insulation is designed to insulate, not to hold a metal profile, so the fixing must reach the masonry or concrete of the parapet. If the wall top is insulated, the anchor goes through a rigid element or uses fixings designed for insulated facades, as defined by the design or the system holder. On old or deteriorated parapets, check the substrate's capacity first.
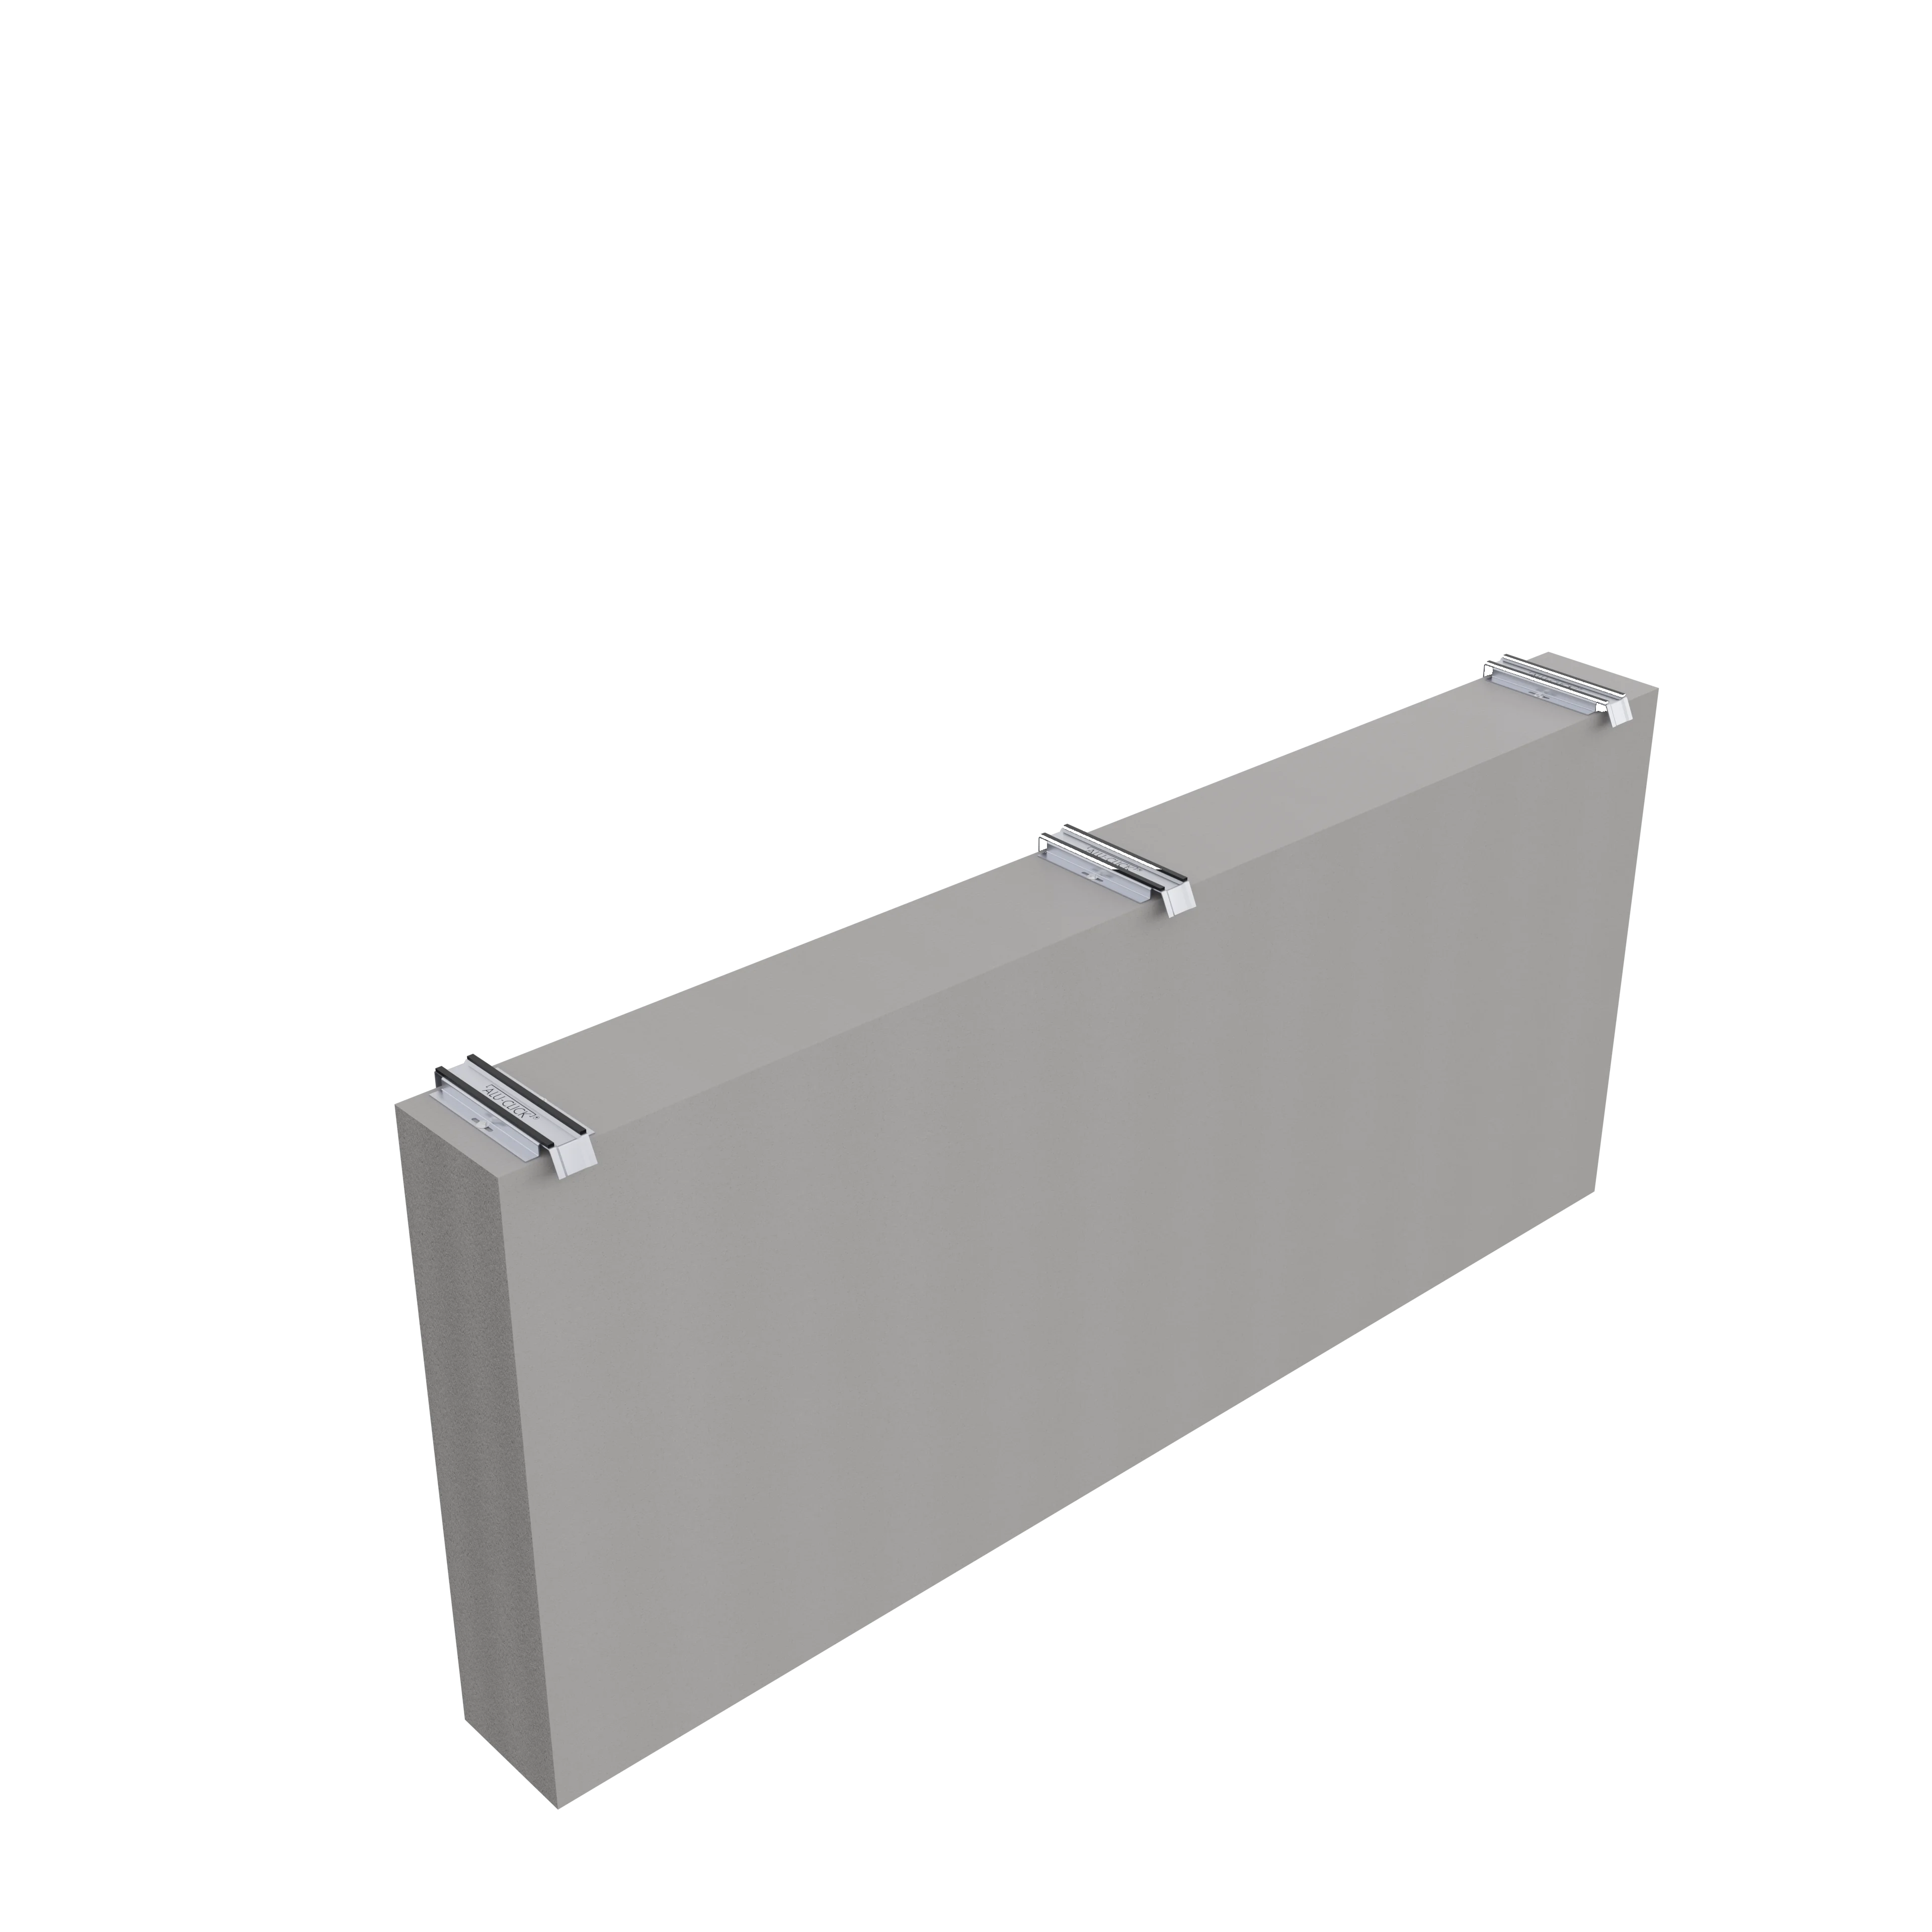
In ALU-CLICK® the only element fixed to the wall is the 70 mm fixing plate; the profile clips onto it and the fixing stays hidden. The anchoring decision comes down to a single point, and the dimensioned installation drawing lets you carry it into the parapet's construction section.
Section 10
Refurbishment: What to Do With the Existing Coping
The temptation is to keep the old coping and insulate underneath. It's almost never a good idea. A piece that projected 3 or 4 cm over the bare wall ends up, after 80 or 100 mm of ETICS, with its drip inside the new facade line: the water lands right on the top edge of the system. And its aged joints keep letting through water that the ETICS then traps.
The sensible option is usually to remove it and fit a coping sized for the finished facade. Before closing up the wall top, check:
- Moisture in the masonry: the system needs a dry substrate to bond to.
- The condition of the parapet: cracks or loose bricks are repaired first, because afterwards they're hidden.
- The junction with the roof: if the roof waterproofing is being redone, coordinate the membrane upstand with the coping's inner drop.
If the windows are being replaced too, remember that the sill is the other critical ETICS detail: our aluminium sills include a model with a 10 mm rear upstand for rendered and ETICS facades.
Section 11
Made-to-Measure ALU-CLICK® Copings for ETICS
ALU-CLICK® copings are made to measure from 70 to 600 mm wide in 1.2 mm lacquered aluminium, with 25 microns of polyester lacquer on both faces. They're installed with no silicone and no visible fixings, with watertight bituminous gaskets and accessories for the whole run: mitres, T-pieces, end caps and joining sleeves. Colours: RAL 7016 anthracite grey, RAL 9006 natural, RAL 9003 white and RAL 7022 dark grey. Why a continuous metal coping outperforms stone or clay is covered in which type of coping to choose.
To quote a coping on ETICS, besides the usual (linear metres, mitres, colour; see how to measure the wall and order your ALU-CLICK®), tell us:
- The finished wall-top width and how it's made up: wall, outer ETICS and, where applicable, inner.
- Whether the ETICS is at design stage or already installed.
- Whether the wall top is insulated, and how thick.
- The parapet's construction section and the planned installation season.
The quote form accepts PDF, DWG and DXF up to 10 MB and we reply within 24 working hours. For the construction detail there's the system catalogue, the dimensioned installation drawing and the 2D drawings of the fixing plates: plate 1 and plate 2. We've manufactured in Tàrrega (Lleida, Spain) since 1968, with an ISO 9001 quality system, and deliver to the UK and Ireland.
FAQ
Frequently asked questions
What coping width do I need if the facade has ETICS?+
The finished wall-top width: wall thickness plus the full ETICS thickness (insulation, base coat and finish) on each insulated face. A 250 mm parapet with 80 mm of insulation and about 5 mm of finish on the outside needs a coping of around 335 mm, not 250.
How far from the ETICS should the drip be?+
At least 2 cm clear of the wall face is the benchmark (it's the figure in Spain's building code, for example). With ETICS, that distance is measured from the outer face of the finished render, not from the wall.
Does the coping go on before or after the ETICS?+
Before. ETICS guidance such as the IDAE technical guide says to install sills and copings before the insulation, with an expanding sealing tape at the junction. If the programme means it goes on afterwards, the joint still has to be respected and the profile must not rest on the render.
How is the junction between the coping and the ETICS sealed?+
With a joint that can move: ANFAPA recommends a 5 mm elastic joint and the IDAE guide describes expanding sealing tape. Don't fill it with mortar or run the render up to the metal.
Can the old coping stay after fitting ETICS?+
Almost never. Its overhang was designed for the bare wall and, after ETICS, the drip usually ends up inside the new facade line. The usual approach is to remove it and fit a coping sized for the finished facade.
Related product
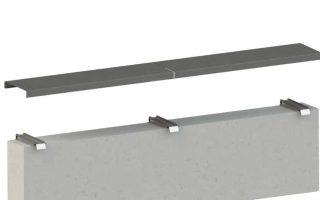
ALU-CLICK®
Wall Copings
Polyester-painted aluminum wall copings with the silicone-free ALU-CLICK® system
Share
Sources
- NHBC Standards — Chapter 6.11: Copings and Cills Detailing
- Commission Implementing Decision (EU) 2019/450, consolidated text (EUR-Lex) — EAD 040083-00-0404, which replaces ETAG 004
- IDAE (Spain). Technical guide to retrofitting building envelopes with ETICS (in Spanish)
- ANFAPA (Spain). ETICS: detailing singular points (in Spanish)
- Spanish Building Code (CTE), DB-HS 1, section 2.3.3.7 — parapets and copings (in Spanish)
- ALU-CLICK® coping system catalogue (Industrias Mas)