Key takeaways
9 min read
Key point 1
The drip edge doesn't repel water: it takes away its path. It's a break in the underside of the profile that forces the drop to detach.
Key point 2
Without that break, adhesion holds the film of water against the material even upside down, and the water returns to the facade.
Key point 3
UK practice specifies window sills to BS 5642-1 with detailing per NHBC Standards; typical design values are a slope above 10°, a drip edge at least 2 cm from the wall and a 2 cm side return into each jamb.
Key point 4
The 2 cm is measured on the finished facade, counting render or external insulation. It's the mistake that most often defeats the piece.
Key point 5
A junction that is only watertight while the silicone is intact is a badly resolved junction.
In this article
- What Exactly Is a Drip Edge
- Why Water Travels Along the Underside
- What Happens When That Path Isn't Cut
- What UK Practice Expects
- The Five Failures That Keep Recurring on Site
- Which Material Holds Up Best
- ALU-DROP® Window Sills by Industrias Mas: Specifications
- How to Order a Window Sill Without Mistakes
- Common Mistakes on Site
- Frequently asked questions
There is a construction detail you notice far more when it's missing than when it's done properly. Just walk down any street and look up: under a good number of windows, two dark streaks run down the facade, widen over the years and end up drawing a fan-shaped stain.
It isn't just accumulated dirt. It's water that found nowhere to fall.
The window sill is the piece that finishes the bottom of the window opening and carries rainwater away from the building. But fitting a sloped piece isn't enough. What decides whether the water leaves the facade or comes back to it is a small and often misunderstood element: the drip edge. In this guide we explain how it works physically, what UK practice expects and how to check on site that it's done properly.
Section 02
What Exactly Is a Drip Edge
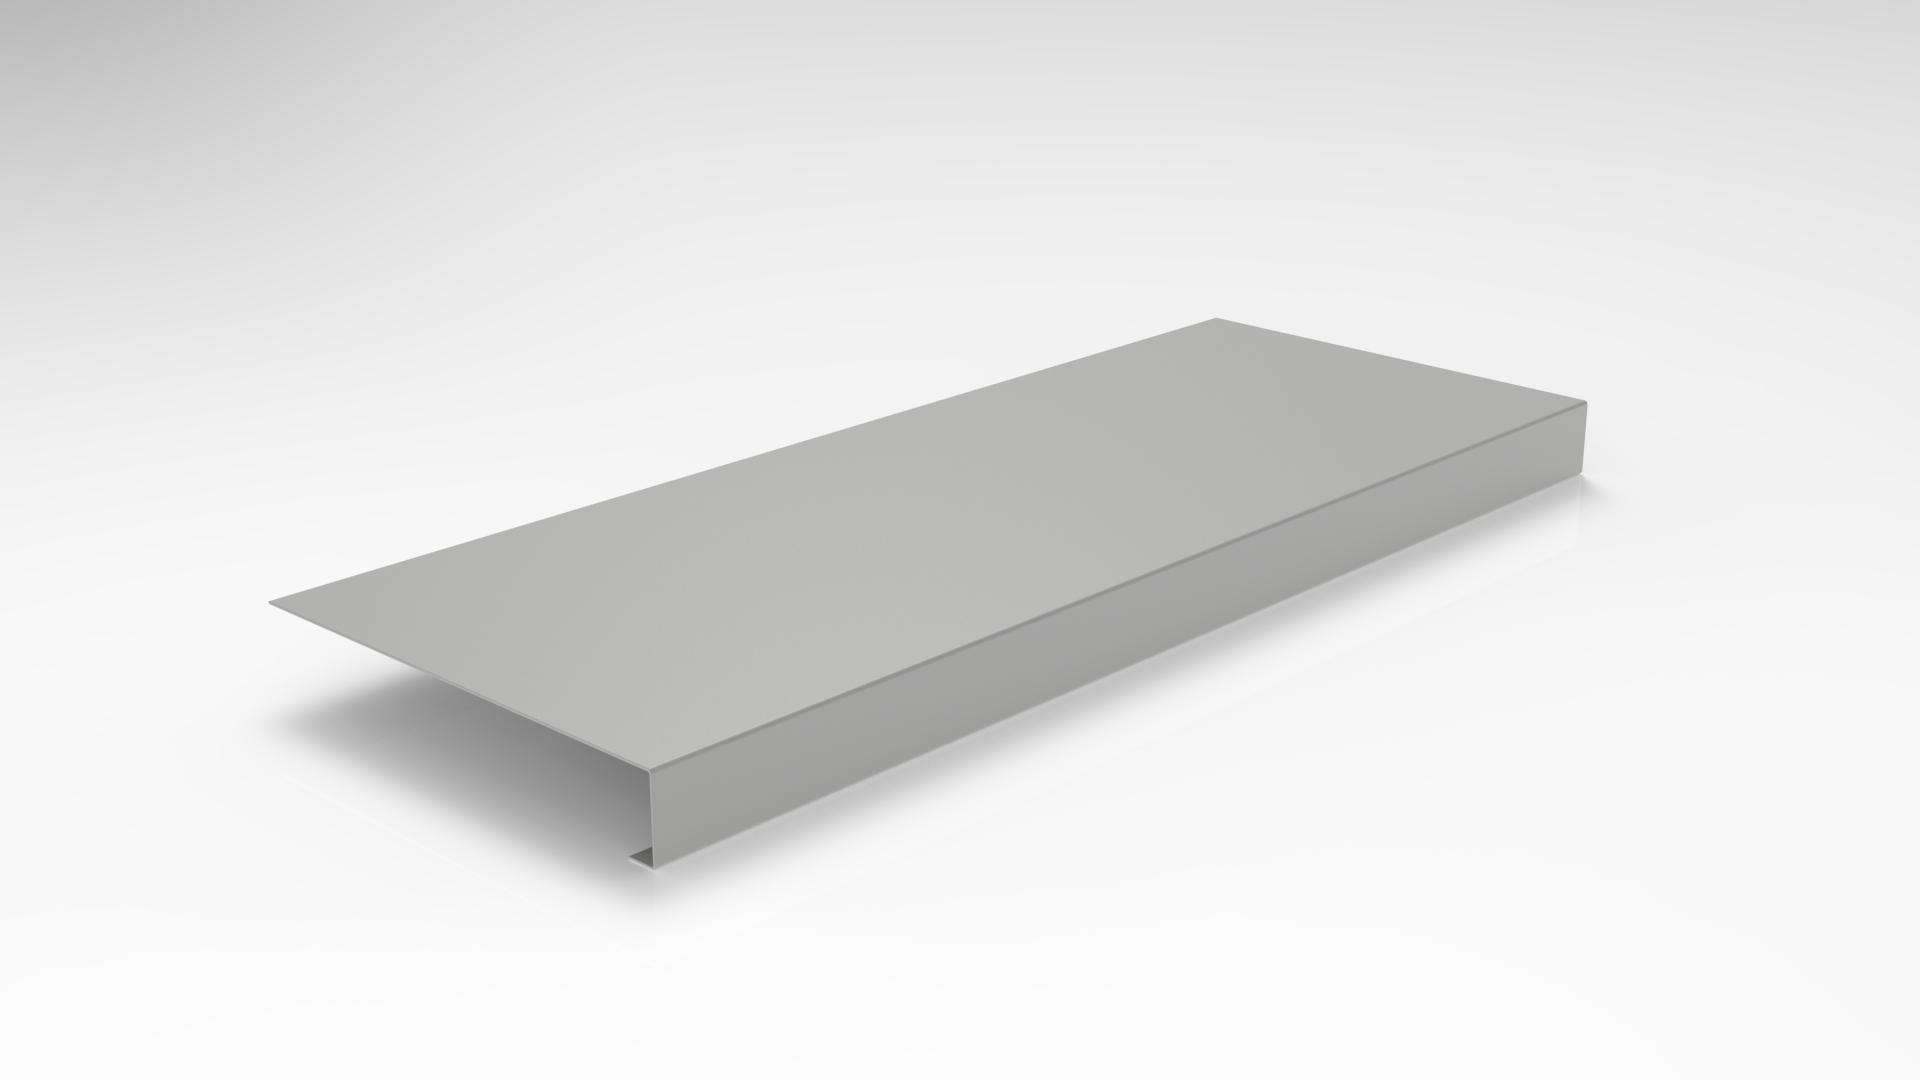
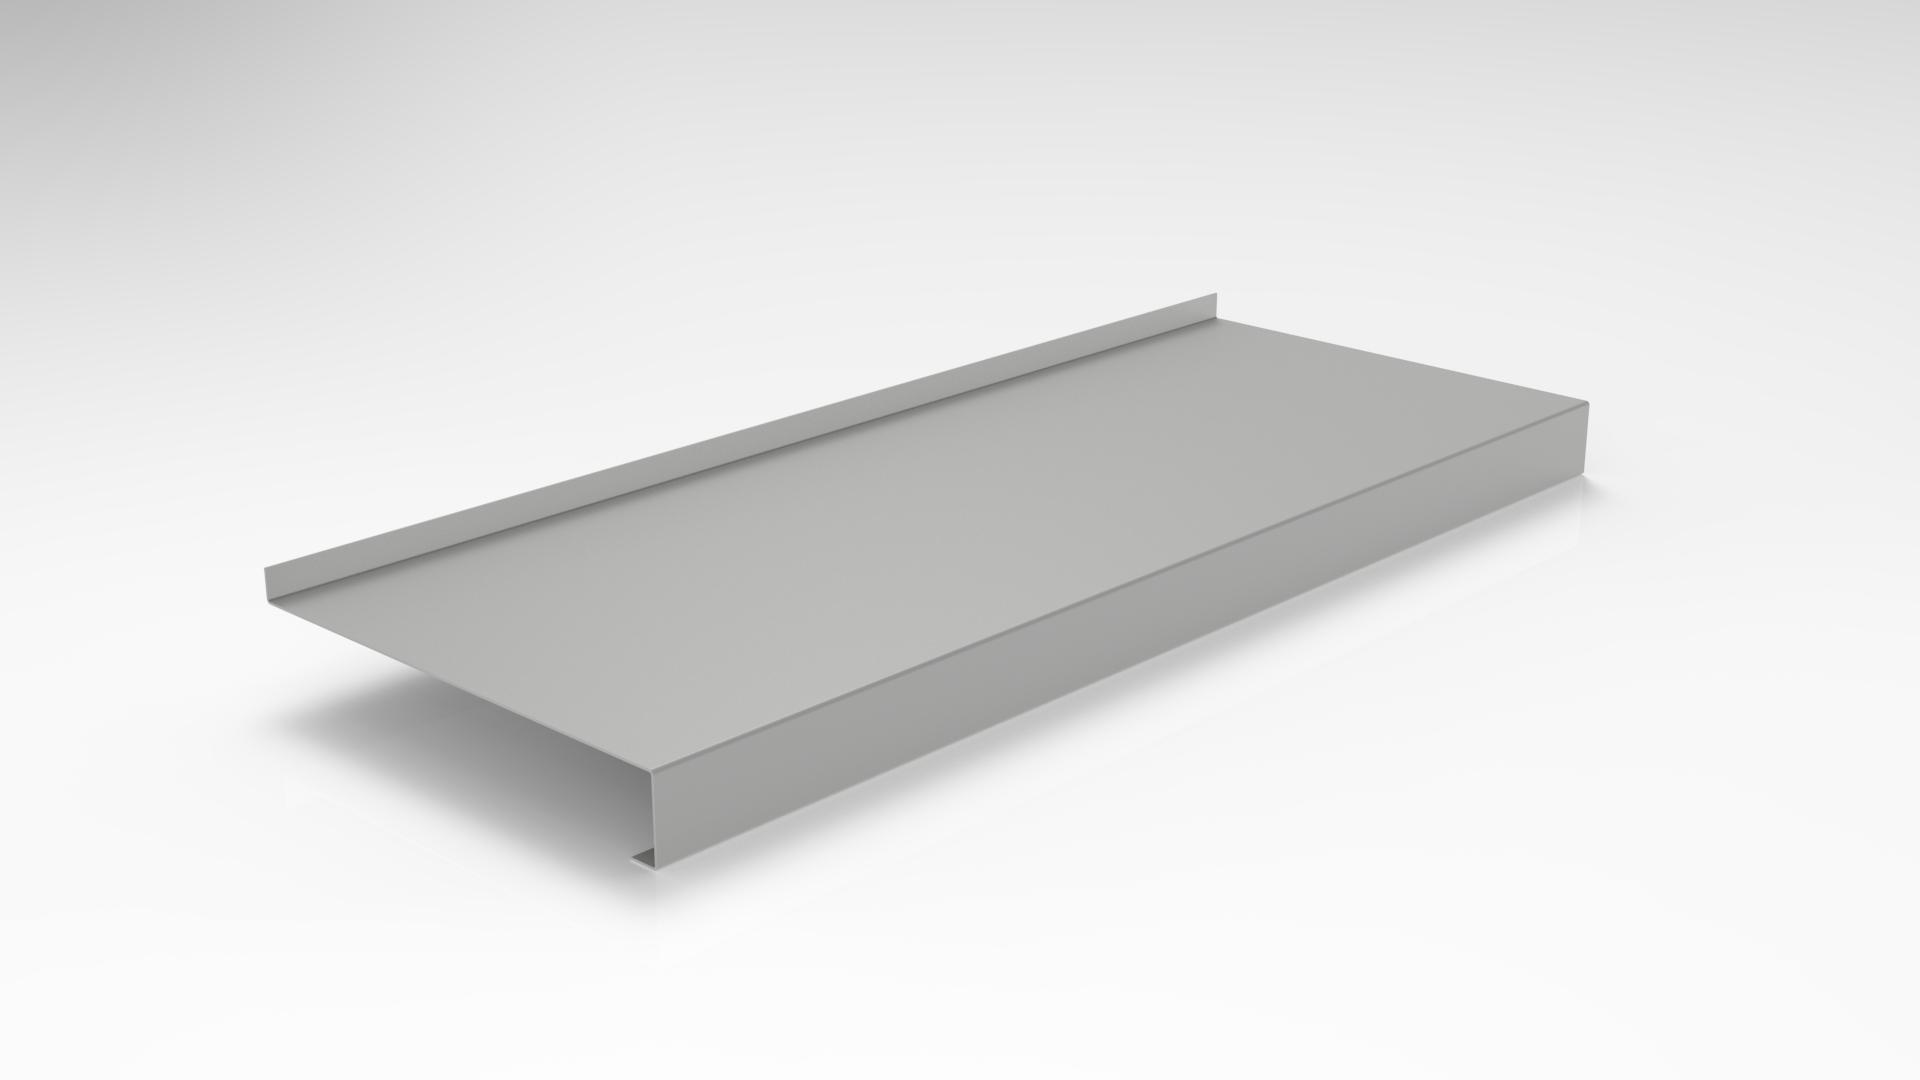
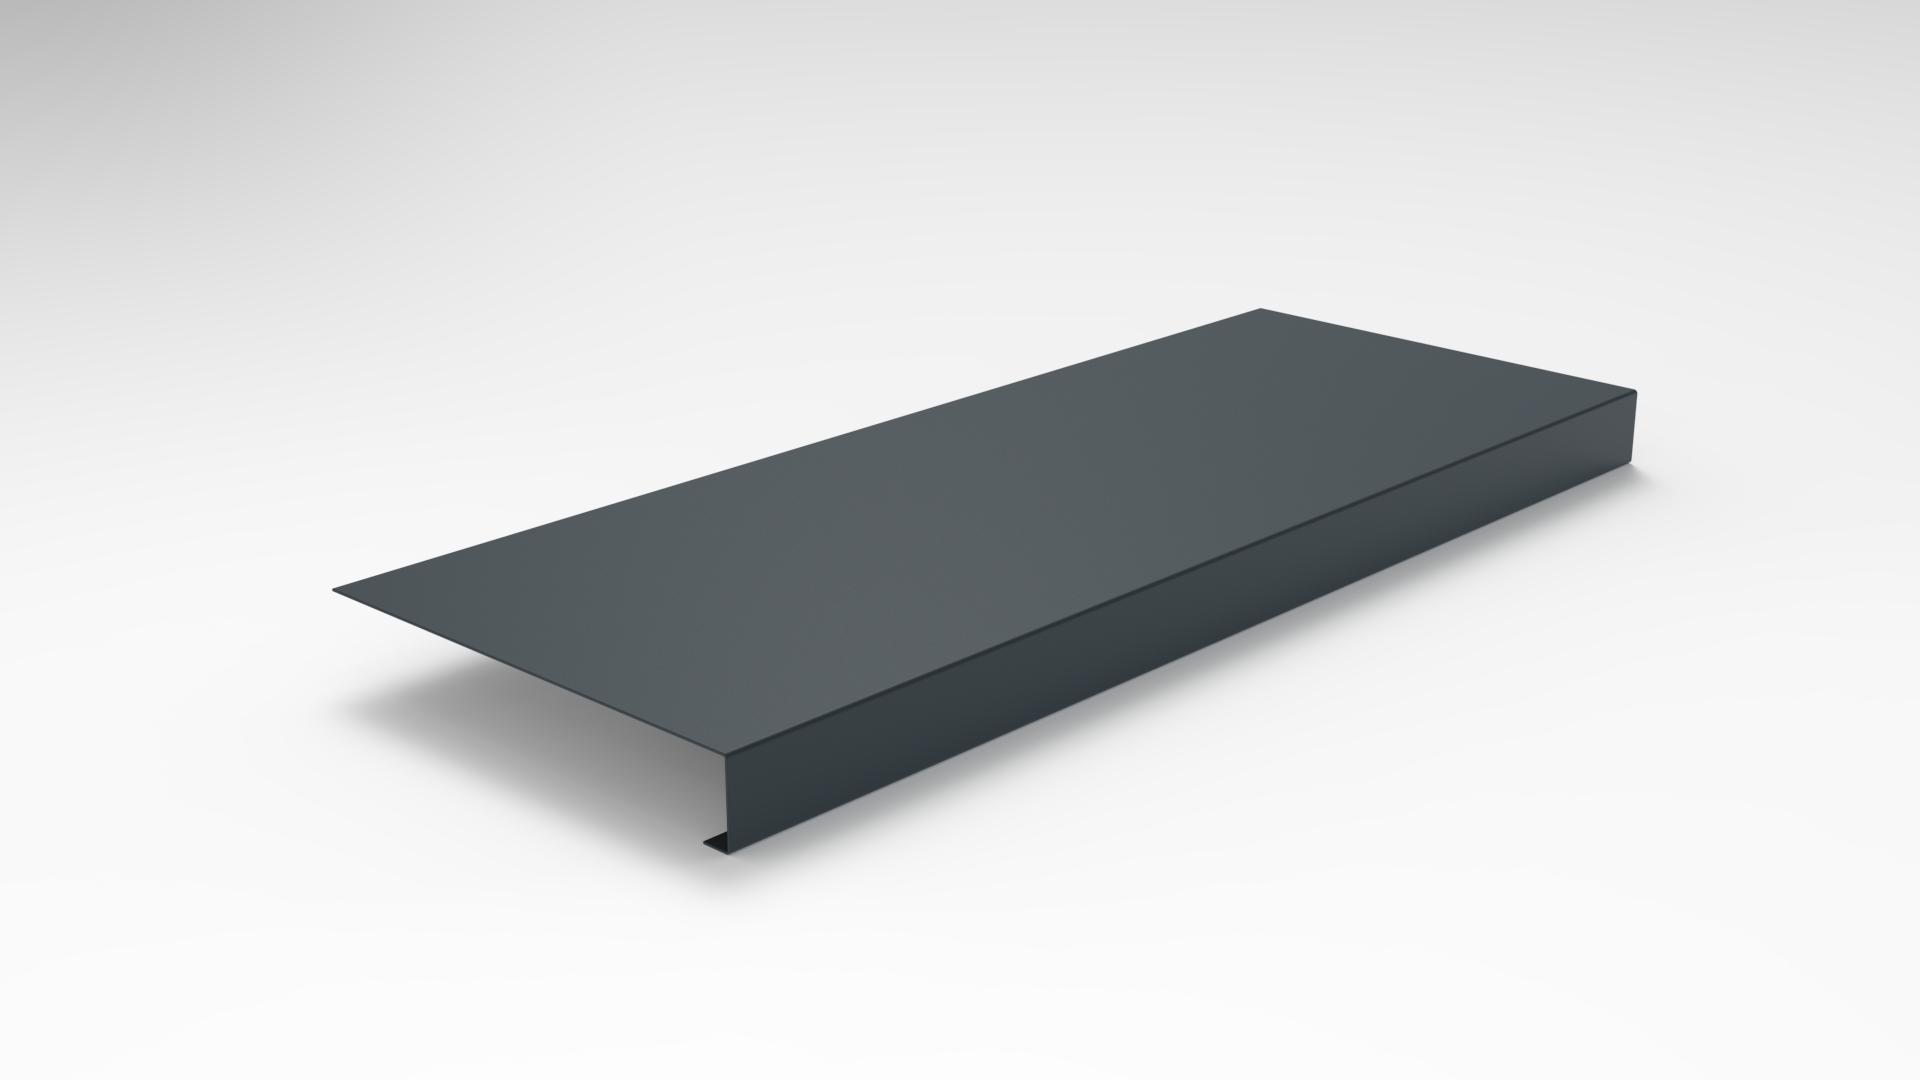
The drip edge is a deliberate break in the underside of the window sill, at its outer edge. It can be a groove, a recess or a downward fold. Its only function is to force the water droplet to detach at that point and fall clear, instead of carrying on along the underside of the piece until it reaches the wall.
Put like that it sounds like a minor detail. In reality it's the element that decides how the whole assembly behaves.
Section 03
Why Water Travels Along the Underside
It can seem counterintuitive that water runs along the underside of a piece instead of simply falling. The explanation lies in two forces acting at the same time.
The first is adhesion: water molecules are attracted to the solid surface they are in contact with. On a continuous, smooth surface, that attraction is enough to hold the film of water against the material even when the surface faces downwards.
The second is the cohesion between the water molecules themselves, which gives rise to surface tension. It's what keeps the film together and lets it stretch without breaking into separate drops.
While the surface is continuous, both forces beat gravity and the water keeps advancing inwards. As soon as there is a discontinuity — a sharp edge, a groove, an abrupt change of plane — the film can't keep contact. Adhesion has no surface left to grip, the drop builds up at the edge until its weight exceeds the surface tension, and it falls.
The drip edge doesn't repel water. It simply takes away its path.
Section 04
What Happens When That Path Isn't Cut
The water that reaches the wall isn't clean. It has washed the surface of the window sill and carries the atmospheric dust deposited on it, traffic combustion particles and, on mortar or concrete facades, the soluble compounds the material itself releases.
When that water evaporates on the facade it leaves behind everything it carried in solution and suspension. The result shows in three successive phases:
- Streaking. In the first months two vertical lines appear under the ends of the opening, where the water concentrates.
- Spreading stain. Over time those lines widen and form the characteristic fan shape. On light facades the contrast is very visible.
- Material deterioration. The continuous cycle of wetting and drying degrades the finish, encourages colonisation by micro-organisms and, in climates with frost, causes damage from the freezing of water held in the pores.
From the second phase on, the problem stops being cosmetic. Persistent damp at one point of the facade compromises the coating and can end up affecting the substrate.
Section 05
What UK Practice Expects
Protecting the junction between facade and window against moisture is a core requirement of UK building design. Window sills are specified to BS 5642-1, and detailing is guided by NHBC Standards (Chapter 6.11, Copings and Cills Detailing). The point is left to the standard, not to the installer's judgement.
In essence, a good window sill meets four requirements:
- A slope towards the outside. Enough for water to drain by gravity without pooling. A common design target is a fall of more than 10°.
- Being impermeable, or sitting on a waterproof barrier. The piece can't be the only defence if the material is permeable.
- A drip edge on the underside of the projection, set away from the outer face of the wall. A separation of at least 2 cm is a widely used design value. It's the key condition, and the one most often missed.
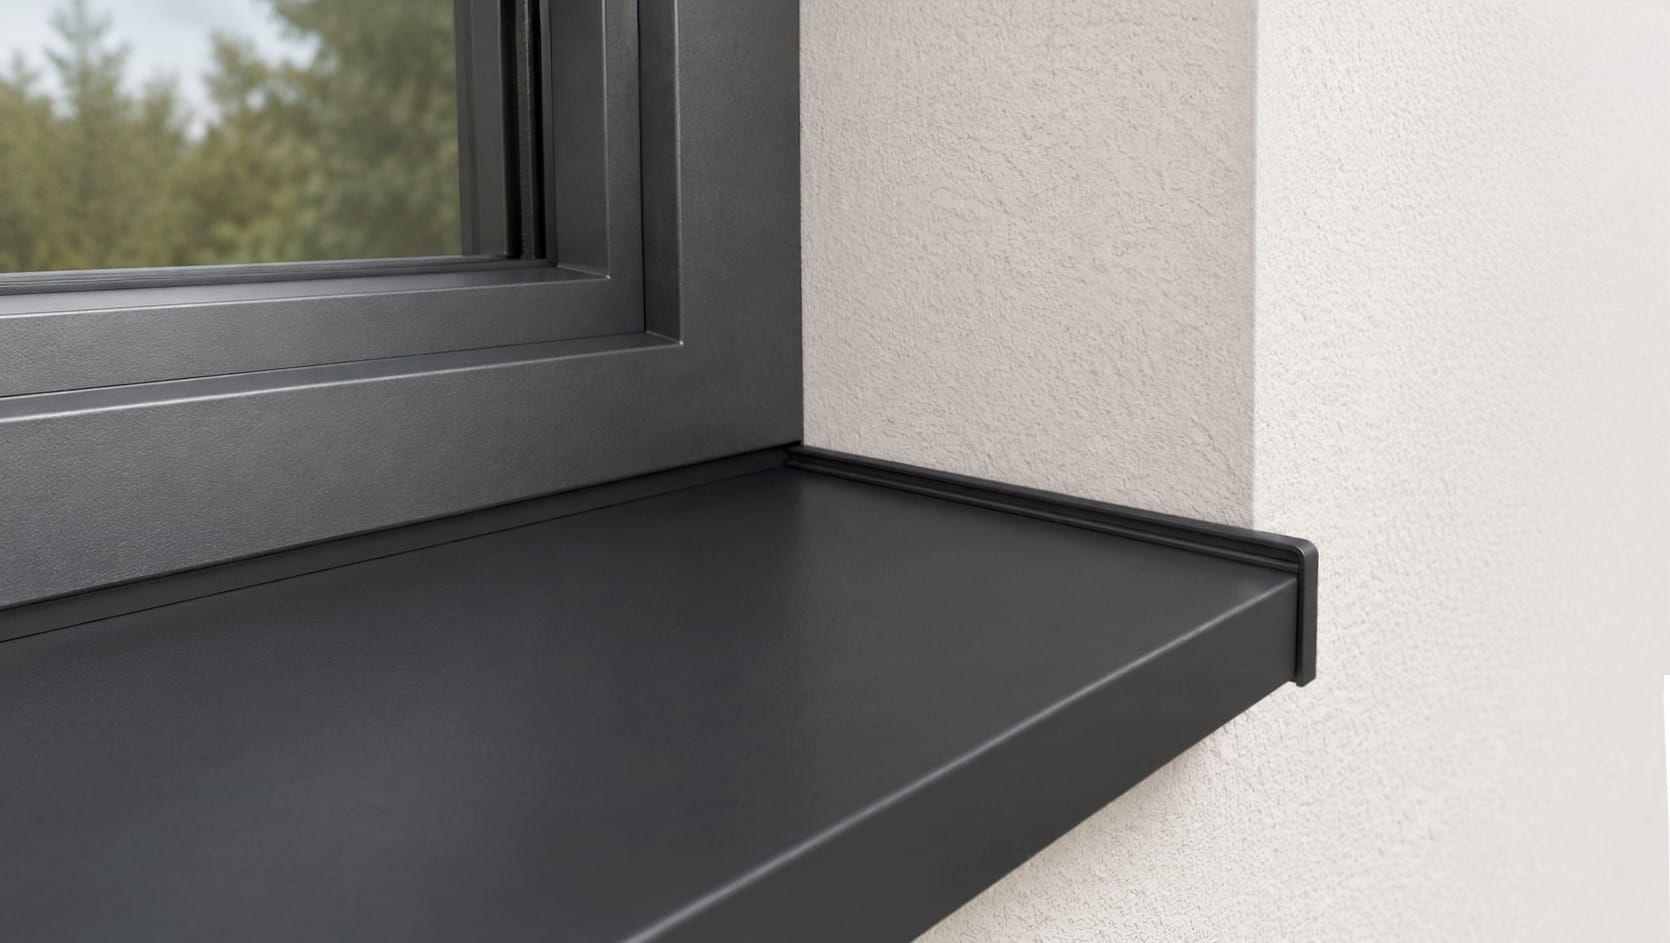
- A side return into the jamb. Around 2 cm is typical. Water running down the side of the opening must find the piece, not slip in behind it.
The figures above are commonly used design values (they match those in Spain's CTE) rather than a citation of a particular clause; confirm the requirement for your project against the standard that applies to it.
The 2 centimetres between the drip edge and the wall aren't an aesthetic recommendation. They are the minimum distance for the drop, when it detaches, to fall clear of the facade plane even in a moderate wind. A window sill that projects one centimetre has a drip edge and still stains the facade.
Section 06
The Five Failures That Keep Recurring on Site
Window sill with no drip edge. It happens mostly with stone or site-formed mortar pieces, where the underside recess is forgotten or filled in when the bedding mortar is applied. The piece has the right slope and the water still comes back.
Insufficient projection. The drip edge exists, but it's less than 2 cm from the wall. The water detaches and the wind throws it back against the facade before it has gained any fall height.
No side return. It's the quietest failure of all. The piece ends exactly at the width of the opening, without going into the jambs. Water running down the sides passes behind the window sill and goes straight into the junction between frame and structure.
Reversed or insufficient slope. Through mortar settlement, a setting-out error or a distorted piece, the slope ends up below 10° or even falling inwards. Water pools on the piece and looks for a way out through the joint with the window frame.
Relying on sealant for watertightness. Silicone between the window sill and the frame works for a while. Thermal cycling, ultraviolet radiation and differential movement between materials degrade it, and within three or four years the first crack appears.
Section 07
Which Material Holds Up Best
Reviewing the conditions the piece has to meet, it's easy to see why folded metal prevails for this function.
- Lacquered aluminum. It doesn't absorb water, doesn't rust, takes any colour from the RAL chart and needs no maintenance. With no absorption there is no efflorescence, no freeze-thaw cycle and no soluble salts to stain the facade. A quality lacquer — 25 microns of polyester lacquer — is what sets it apart from a simply painted sheet.
- Natural stone. High durability if it's low-absorption, like granite. Limestones and sandstones absorb more than is generally assumed and share the weakness of the wall they protect.
- Precast concrete. Economical, but porous: it absorbs any water that pools on it and releases salts that end up on the facade.
- Ceramic. Good behaviour if it's low-absorption stoneware, though fragile under impact.
Every solution bedded in mortar also has a common weak point: rigid joints, which crack with thermal movement and stop being watertight.
Section 08
ALU-DROP® Window Sills by Industrias Mas: Specifications
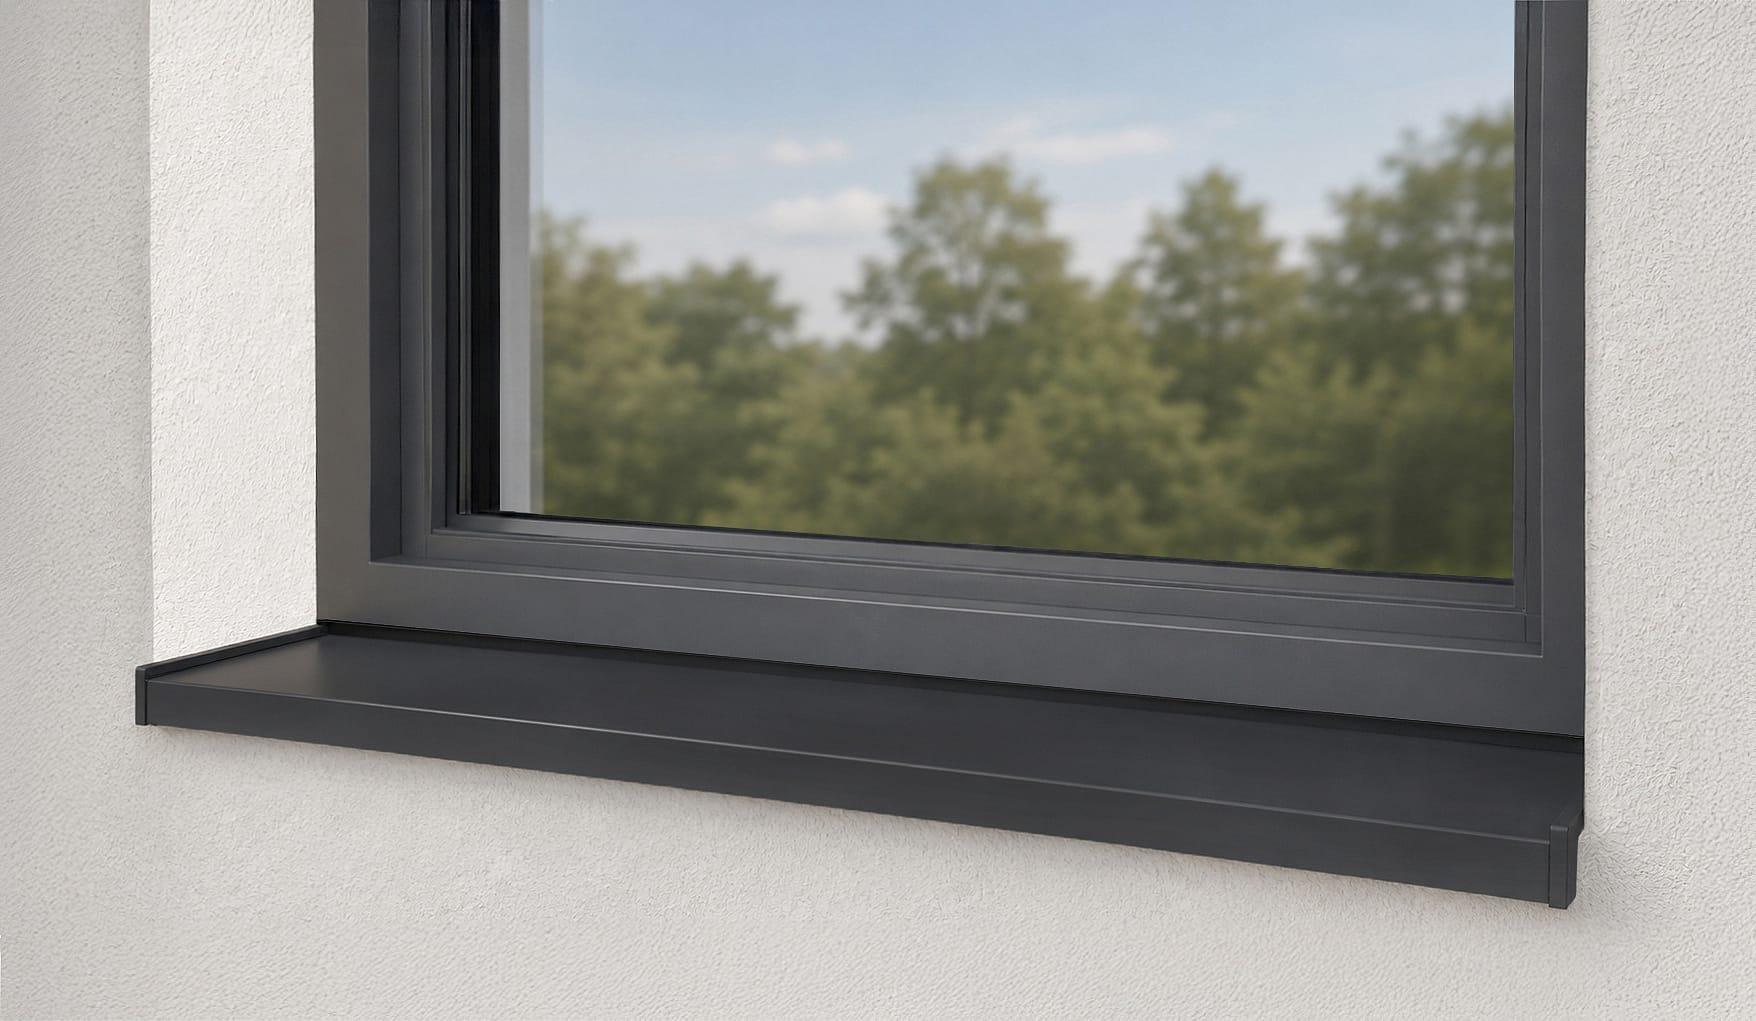
ALU-DROP® window sills are made to measure in lacquered aluminum, for any window or door opening.
- Material: lacquered aluminum, with the drip edge integrated into the profile geometry.
- Lacquer: 25 microns of polyester lacquer, resistant to corrosion, ultraviolet radiation and thermal variation.
- Finish: integrated ALU-DROP® drip profile, with no need to form a recess on site.
- Models: without rear upstand and with a 10 mm rear upstand, the latter recommended on rendered facades or those with external insulation.
- Manufacture: made to measure in width and length, to the real dimensions of the opening.
- End finishing: side end caps that close the edges of the profile and stop water escaping through them.
- Colours: the whole RAL chart, usually matching the reference of the window frames.
- Certification: ISO 9001:2015.
This same line pairs with ALU-CLICK® wall copings and with VENTUM® chimney and ventilation caps when the project looks for aesthetic consistency between opening, wall coping and roof.
Section 09
How to Order a Window Sill Without Mistakes
The order comes down to five pieces of information:
- Quantity of units, grouped by identical size.
- Length: width of the opening measured at three points, taking the largest, plus the side return into each jamb.
- Depth: wall thickness plus the external projection, calculated on the final finish of the facade and not on the current state of the wall.
- Model: with or without the 10 mm rear upstand.
- RAL reference of the finish.
Section 10
Common Mistakes on Site
- Measuring the raw wall. The projection disappears when the render or external insulation is applied.
- Not adding the side returns. The piece arrives exactly at the width of the opening and doesn't go into the jambs.
- Measuring at a single point. The opening is almost never a perfect rectangle, especially in refurbishment.
- Painting the piece on site. A coat of paint applied over the profile can fill the drip edge and cancel its function.
- Bridging the drip edge. Any build-up — site debris, leaves, a nest — that spans the discontinuity disables it.
- Leaving the junction with the frame to sealant alone, instead of resolving it by overlap or by the geometry of the pieces.
FAQ
Frequently asked questions
Can a drip edge be added to a window sill that's already installed?+
On stone or concrete pieces a recess can be cut with an angle grinder, but the result depends on the projection available. If the piece doesn't project at least 2 cm from the wall, the drip edge won't solve the problem however well it's done. In those cases the usual solution is to fit a metal profile over the top with enough projection.
What is a double drip edge window sill?+
It's a profile that incorporates two successive breaks on the underside. The second acts as a backup if the first is defeated, by a build-up of dirt or by a coat of paint applied over the piece. It provides additional margin on facades highly exposed to wind.
Is it essential on ground floors or on sheltered facades?+
Good practice doesn't distinguish by height or degree of exposure. And in practice ground floors tend to receive more splash-back from the pavement, so the water reaching the facade arrives even more heavily loaded with particles.
Does lacquered aluminum fade over the years?+
A 25-micron polyester lacquer is designed for prolonged outdoor exposure. Colour stability depends on film thickness and process quality, not on the colour chosen. It's a substantial difference compared with pieces painted on site, where thickness is rarely uniform.
How is the window sill resolved when the facade has external insulation?+
It's the case that needs the most attention, because the finished facade plane shifts outwards several centimetres relative to the substrate. The projection must always be measured on the final finish. The model with a 10 mm rear upstand improves the junction against the window frame on these facades.
What maintenance does it need?+
None scheduled. It's worth checking from time to time that the drip edge area is free of build-up, because any material that bridges the discontinuity cancels its function.
Are they made to measure?+
Yes. We manufacture each piece to the exact dimensions of the opening, in width and length, in any colour from the RAL chart.
Do I need building work to install it?+
For replacement, often not: the profile can be fitted over the existing window sill if its geometry allows, making use of the slope and adding whatever projection and drip edge are missing.
Have stains under the windows and don't know where to start?+
We can help you check whether the problem is projection, side return or slope, and size the piece to the real dimensions of your openings.
Share