Key takeaways
12 min read
Key point 1
At a window, water falls; at a door, water runs. That difference is why the window-ledge solution can't simply be transferred to the threshold.
Key point 2
Balconies and terraces are treated as flat roofs, and the standards ask for a waterproofing upstand at the door — in the UK, 150 mm, or a specific accessible-threshold detail where level access is needed.
Key point 3
That upstand clashes head-on with accessibility, and the conflict is solved at design stage with drainage, not on site with silicone.
Key point 4
The most common threshold failure isn't the profile: it's the outside paving, laid later, burying the drip edge.
Key point 5
The open ends of the profile are a channel pointing at the jamb, and they're closed with an end cap, not with sealant.
In this article
- Why a Door Threshold Isn't a Window Ledge
- What the Standards Require at a Balcony or Terrace Door
- The Real Conflict: Accessibility Versus Weathertightness
- What the Drip Edge Does and Why It Gets Defeated
- The Ends, Where Water Gets In Without Anyone Looking
- The Three Dimensions to Settle Before Ordering
- With or Without a Rear Upstand
- Industrias Mas Aluminum Sills: Specifications
- How to Order a Door Sill Without Mistakes
- Common Mistakes on Site
- Frequently asked questions
There's a fault that almost always gets reported the same way: water comes in under the door when it rains with wind. The diagnosis that comes with it is usually the same too, and it's usually wrong: the door doesn't close properly.
Sometimes it is the door. But in most cases the joinery is doing its job and the problem is thirty centimeters lower, in how the transition between the outside and inside floor was detailed. In other words, at the threshold.
The threshold is the most demanding point of the whole building envelope, and also the one that gets the least attention at design stage. It takes direct rain, splash-back from the paving, standing water and wind-driven water, and it has to cope with all of that while people walk over it. Detailing it the same way as a window is the origin of almost every leak that later gets blamed on the door.
Section 02
Why a Door Threshold Isn't a Window Ledge
It's worth starting with the physical difference, because everything else follows from it.
On a window, the bottom of the opening sits above the outside level. The water reaching the sill only has to be diverted: gravity does the rest and the profile drops it clear. A window sill is dealing with run-off, and projection, fall and a drip edge are enough.
On a door, the bottom of the opening is at floor level. Water doesn't fall from there: it arrives rolling across the outside paving, pools when the drain can't keep up, and gets pushed against the door leaf by the wind. On top of that, in the vast majority of current buildings the level difference between outside and inside paving is practically zero, because accessibility requires it.
The upshot is that a threshold has to solve three things at once, and the sill only solves one of them:
- Divert the water running down the leaf and the profile itself, so it doesn't come back inward. This is the sill's job.
- Remove the water arriving across the paving before it reaches the threshold. This is the drainage's job: the fall of the paving and, almost always, a channel drain.
- Seal the junction between the joinery and the structure. This is the door installation's job.
When a leak appears, the usual reaction is to reinforce the third. And almost always it's the second that has failed.
Section 03
What the Standards Require at a Balcony or Terrace Door
This is the framework that gets overlooked surprisingly often, and it's worth keeping in mind because it sets the rules.
A balcony or roof terrace is treated as a flat roof, not just an outdoor floor — with everything that implies for waterproofing at the door.
In the UK, NHBC Standards chapter 7.1 sets the general rule: where a terrace or balcony meets a wall, the waterproofing should rise to form an upstand of at least 150 mm. Clause 7.1.16 then covers the case where level access is needed and the door threshold sits less than 150 mm above the drainage layer: the threshold upstand is limited to 15 mm, the design needs a projecting sill of at least 45 mm with a drip set back from the upstand, and the waterproofing upstand beneath that sill must still be at least 75 mm above the drainage layer.
Other countries take a similar approach. Spain's building code, for example, asks for either a 20 cm step above the roof finish or a door set back at least 1 m from the facade with the floor falling outward.
None of these solutions is a profile. They're building geometry. The sill comes afterward, to finish what the geometry has already solved.
Section 04
The Real Conflict: Accessibility Versus Weathertightness
By this point, anyone who has drawn up a recent project will have seen the problem.
An accessible route doesn't allow steps. A 150 mm upstand is exactly the opposite of what accessibility asks for, and at a flat's terrace door, a shop entrance or the entrance to a public building, the option of stepping up fifteen centimeters simply isn't on the table.
This is a genuine conflict between two legitimate requirements, and it's worth saying so plainly, because on site it tends to be resolved by omission: the threshold is built level, no drainage is provided, and weathertightness is entrusted to a bead of silicone that lasts three winters.
The sensible ways out all rest on the same idea: if you can't raise the threshold, you have to get rid of the water before it reaches it.
A drainage channel in front of the threshold. This is the most widespread solution and the most effective. A removable-grate channel, flush with the paving and connected to the drainage system, placed immediately in front of the door and across the full width of the opening. It intercepts the water running across the paving and the water running off the leaf before either can reach the joinery.
Paving that falls away from the door. Obvious, but frequently missed when the paving is laid flat or, worse, with a back-fall toward the door.
An additional outlet near the door. Outlets should sit lower than any door onto the roof. If the only outlet is far away, water crosses the whole terrace before it drains, and that route goes right past the door.
A documented accessible-threshold detail. Level thresholds are a special detail that should be designed and coordinated between the designer, the waterproofing contractor and the door installer — not improvised on site.
In all of them, the sill plays the same role: covering the transition, finishing the junction and throwing the water into the channel. It's not the part that holds back a flood; it's the part that stops run-off from coming back in.
Section 05
What the Drip Edge Does and Why It Gets Defeated
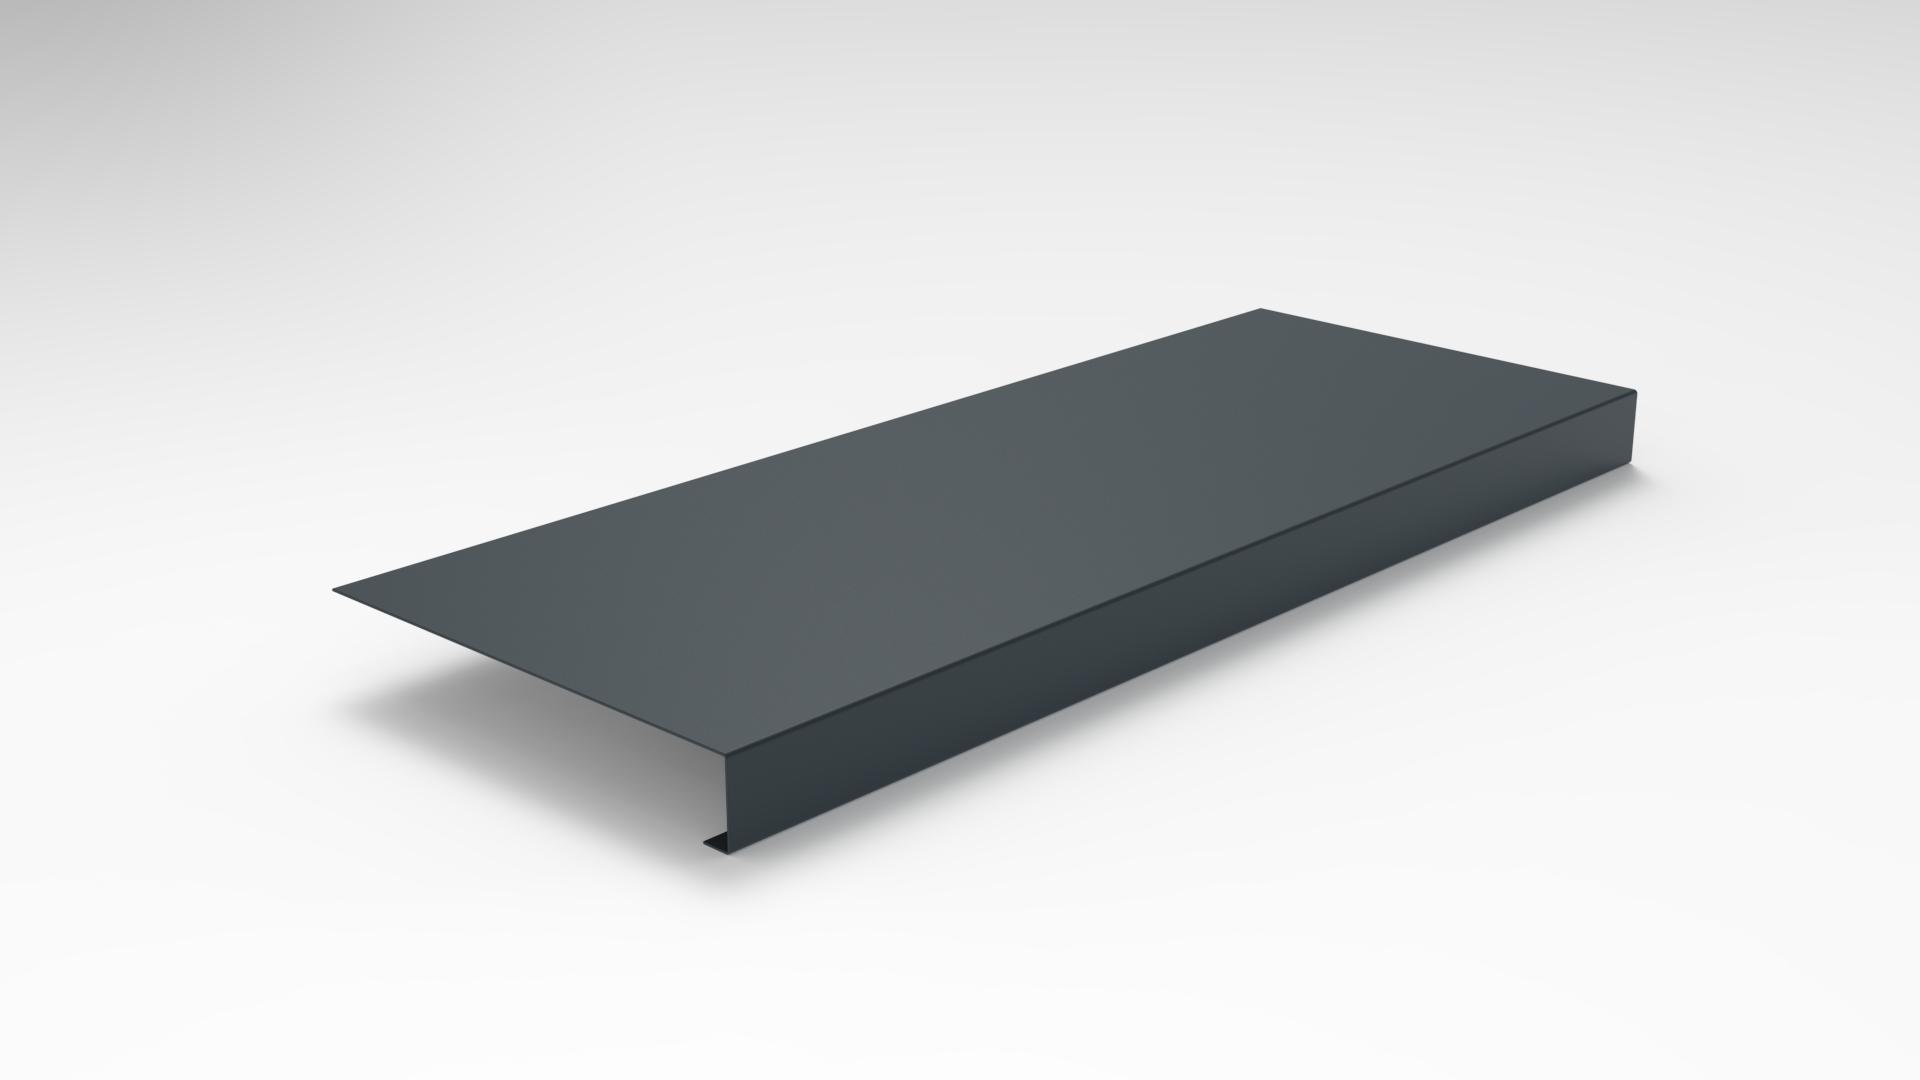
The drip edge is the continuous ridge along the underside of the profile's projecting front edge. Its job is to break the water's surface tension.
Without it, water reaching the edge doesn't let go: it clings to the underside of the piece and travels back to the wall by capillary action. With it, the water meets a sharp edge, can't follow the curve and drops off into the air.
Good practice — and some codes, such as Spain's, make it explicit — combines three conditions: an outward fall (Spain specifies at least 10°), a drip on the underside of the projection standing at least 2 cm clear of the wall face, and the ends of the sill built at least 2 cm into each jamb. In the UK, NHBC's level-threshold detail asks for a projecting sill of at least 45 mm with a drip.
The standard isn't the interesting part; it's almost always met in the factory. The interesting part is how it gets defeated on site, because a defeated drip edge is a drip edge that doesn't exist:
The outside paving is laid later and buries it. This is by far the most common failure at door thresholds. The profile is set at the right level, the terrace is tiled weeks later with two centimeters more screed than planned, and the drip edge ends up touching the paving or below it. From then on the water doesn't drop off: it has a continuous bridge back.
Bedding mortar or render runs up to the underside. A render finished hard against the edge of the profile does exactly what the paving does: it creates continuity where there should be a break.
A bead of silicone seals the underside edge against the wall. It's done with good intentions, to 'make sure', and the effect is the opposite: it fills the very gap that is supposed to exist.
The projection is too small. If the profile doesn't stand out far enough, the drip sits within those 2 cm and there's no gap to break.
All four cases share the same symptom: a vertical stain appears below the threshold, on the slab edge or the plinth, and gets blamed on splashing.
Section 06
The Ends, Where Water Gets In Without Anyone Looking
In section, a sill is a channel. And a channel with open ends is a channel that discharges into the jambs.
It's a point that goes unnoticed because it can't be seen: water doesn't pool there, it simply runs along the bottom of the profile to the end and empties into the structural opening, between the joinery and the masonry. The damp shows up months later, indoors, next to the jamb, and there's no way to link it to the rain because there's no trace outside.
Building the ends at least 2 cm into each jamb ensures the profile goes into the wall rather than stopping flush with it. But that doesn't close the end of the channel: it just puts it inside the wall.
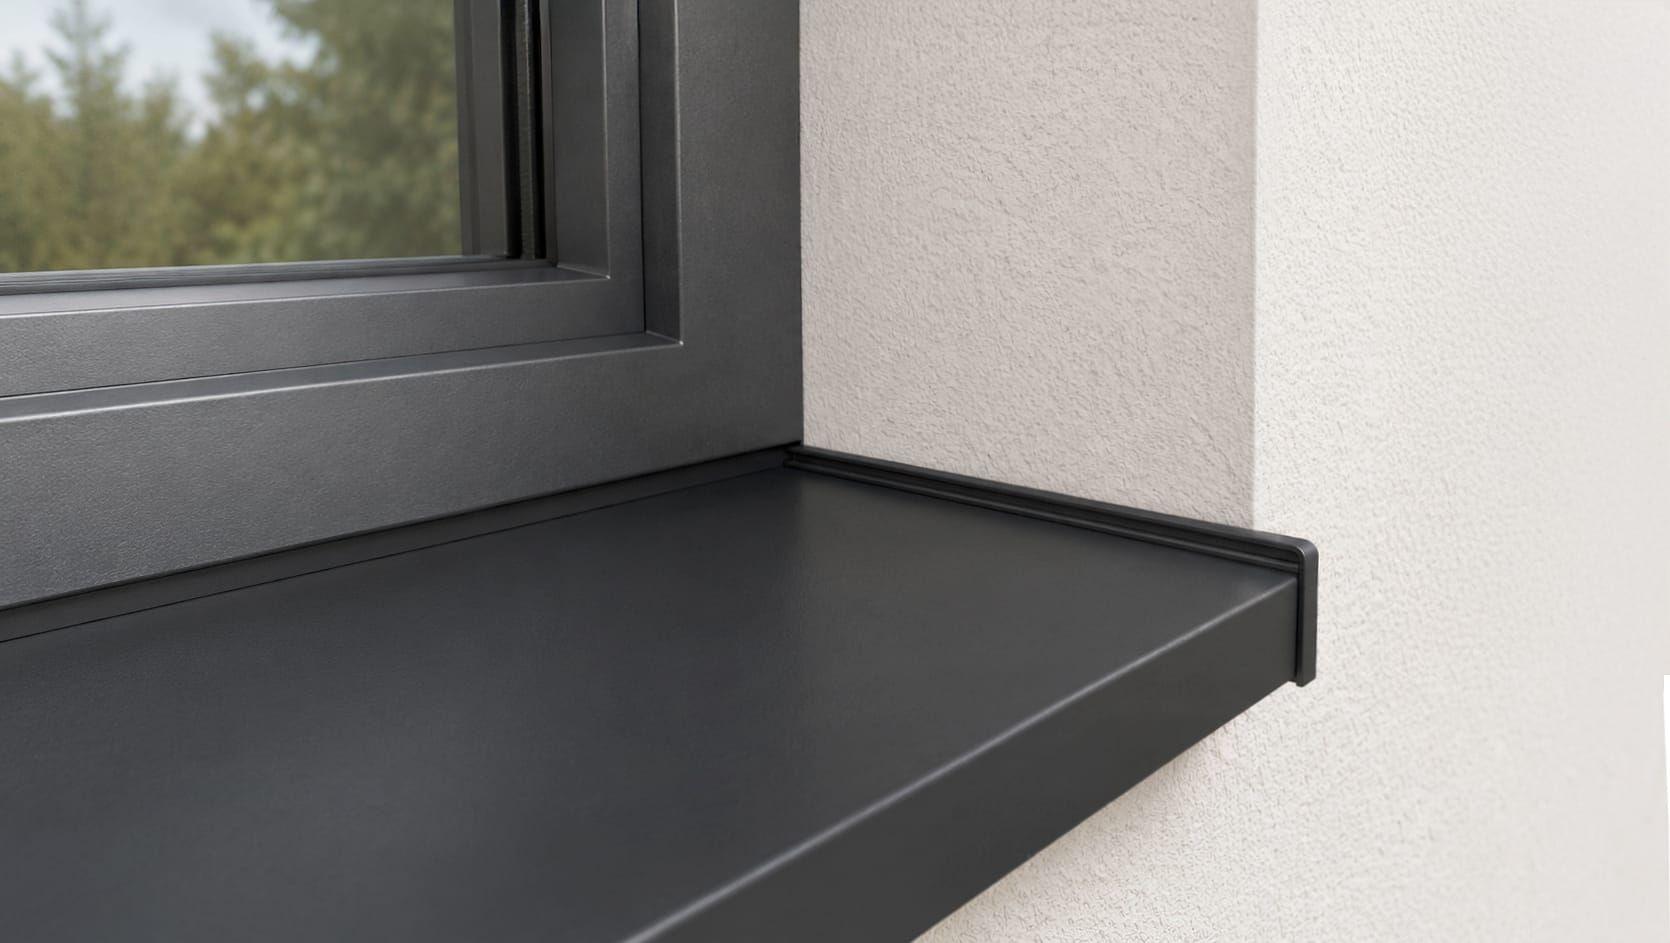
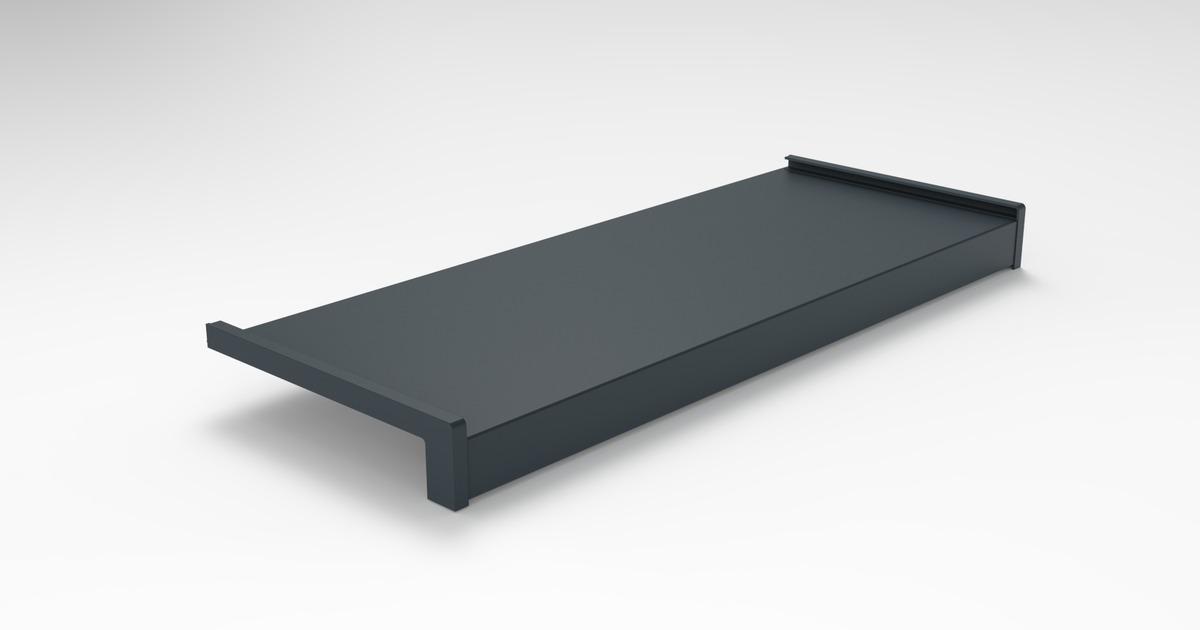
The system solution is to close the profile at both ends with an end cap. ALU-DROP® end caps are made of thermoplastic polymer resistant to UV and weathering, in right- and left-hand versions, and press-fit onto the ends of the profile with no screws and no tools. They're removable, so the profile can be cleaned and the caps refitted, and they're made in a color to match the sill.
Compared with the usual alternative — filling the end with sealant — the difference is the usual one: a component doesn't age the way a consumable does.
Section 07
The Three Dimensions to Settle Before Ordering
At a door threshold, three measurements determine everything else, and all three have to be fixed before manufacturing, not after.
The depth. The distance the profile has to cover from the joint with the joinery to the outer edge, with enough projection for the drip edge to stand clear of the wall. At a door this depth is usually greater than at a window, because the threshold is deeper and the slab edge often needs covering too.
The length. The width of the finished opening plus the return into both jambs. Measure the real opening, not the joinery size.
The finished level of the outside paving. This is the one that gets forgotten, and it's the one that ruins the other two. Not the slab level or the membrane level: the final level, including screed, adhesive and paving. If it hasn't been decided when the order goes in, what's being made is a piece that may end up buried.
A practical rule that avoids most of the grief: don't order a threshold sill until the level of the outside paving is defined, and if the paving hasn't been laid yet, record the planned level in writing on the order itself.
Section 08
With or Without a Rear Upstand
Sills are made in two models, and at door thresholds the choice matters more than at windows.
The model without a rear upstand is the standard profile. It throws water away from the wall and covers the conventional situation, with the joinery sealed against the profile.
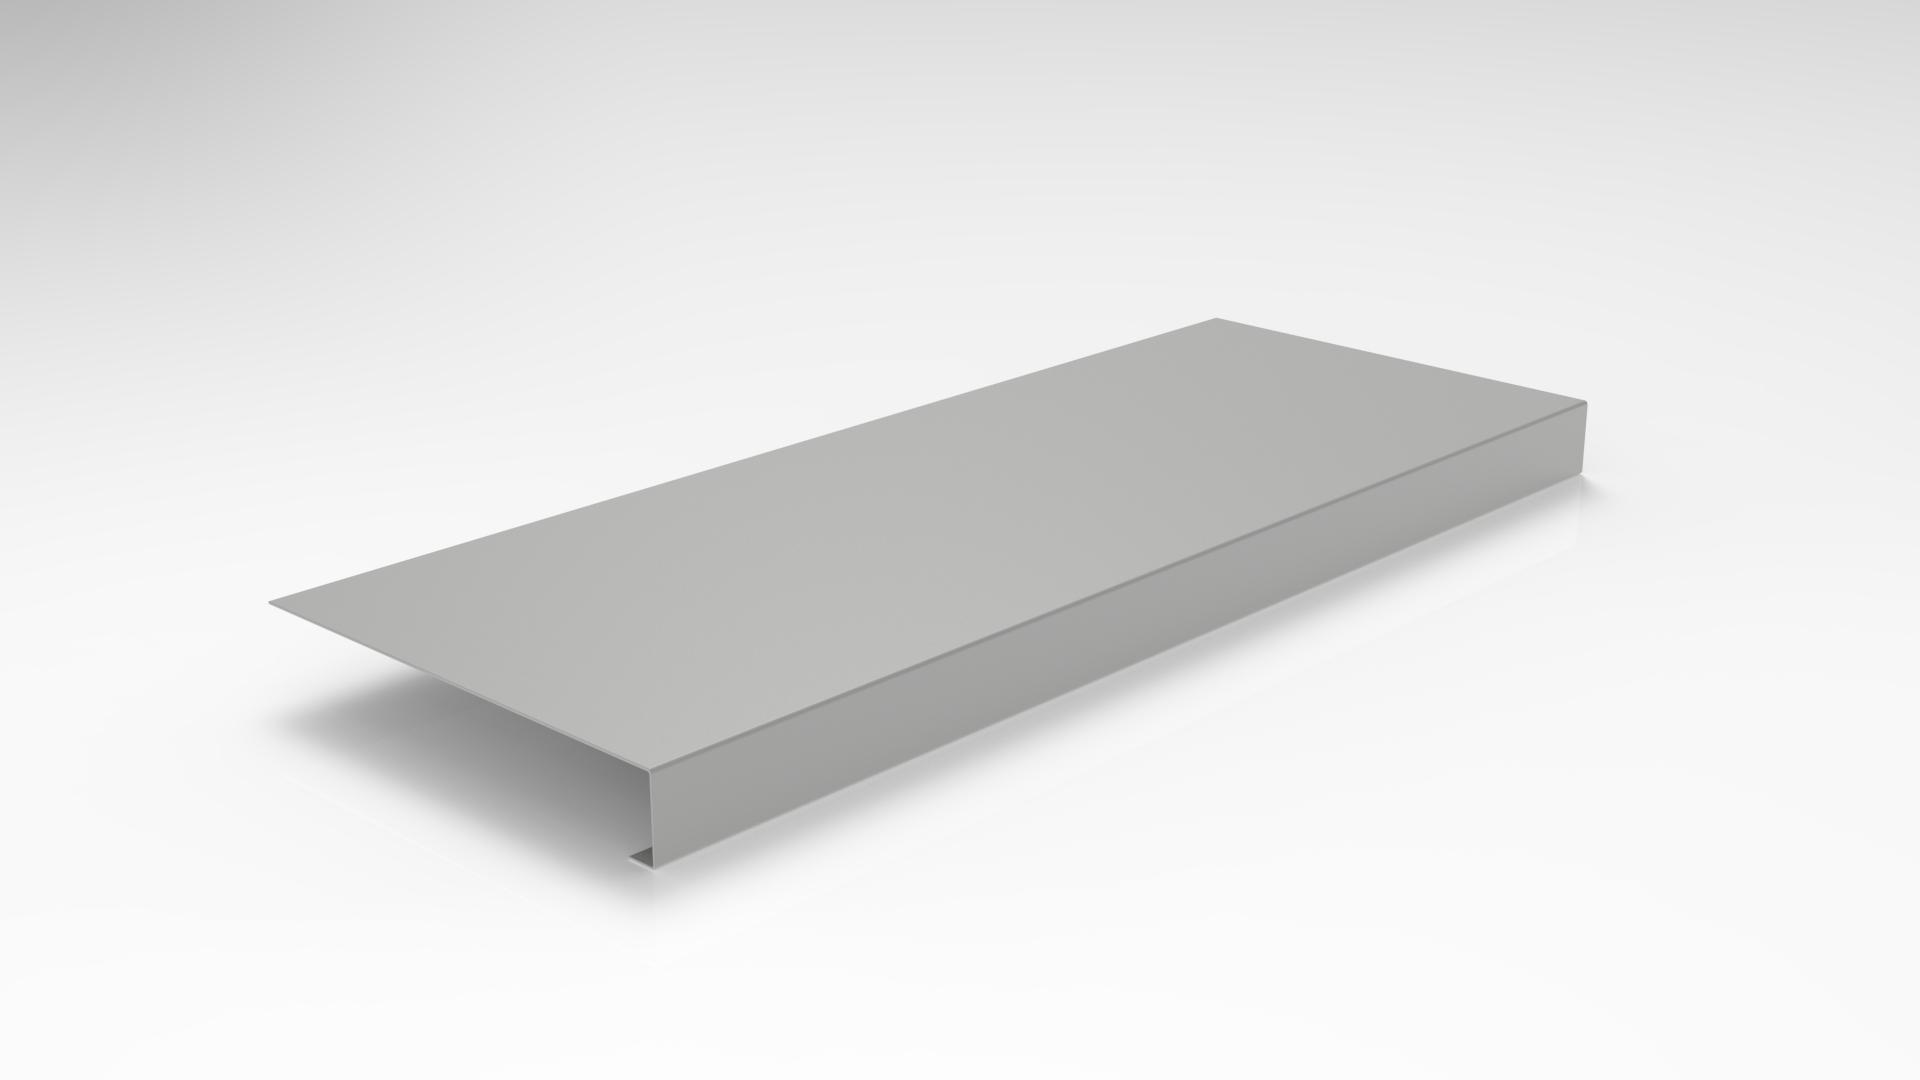
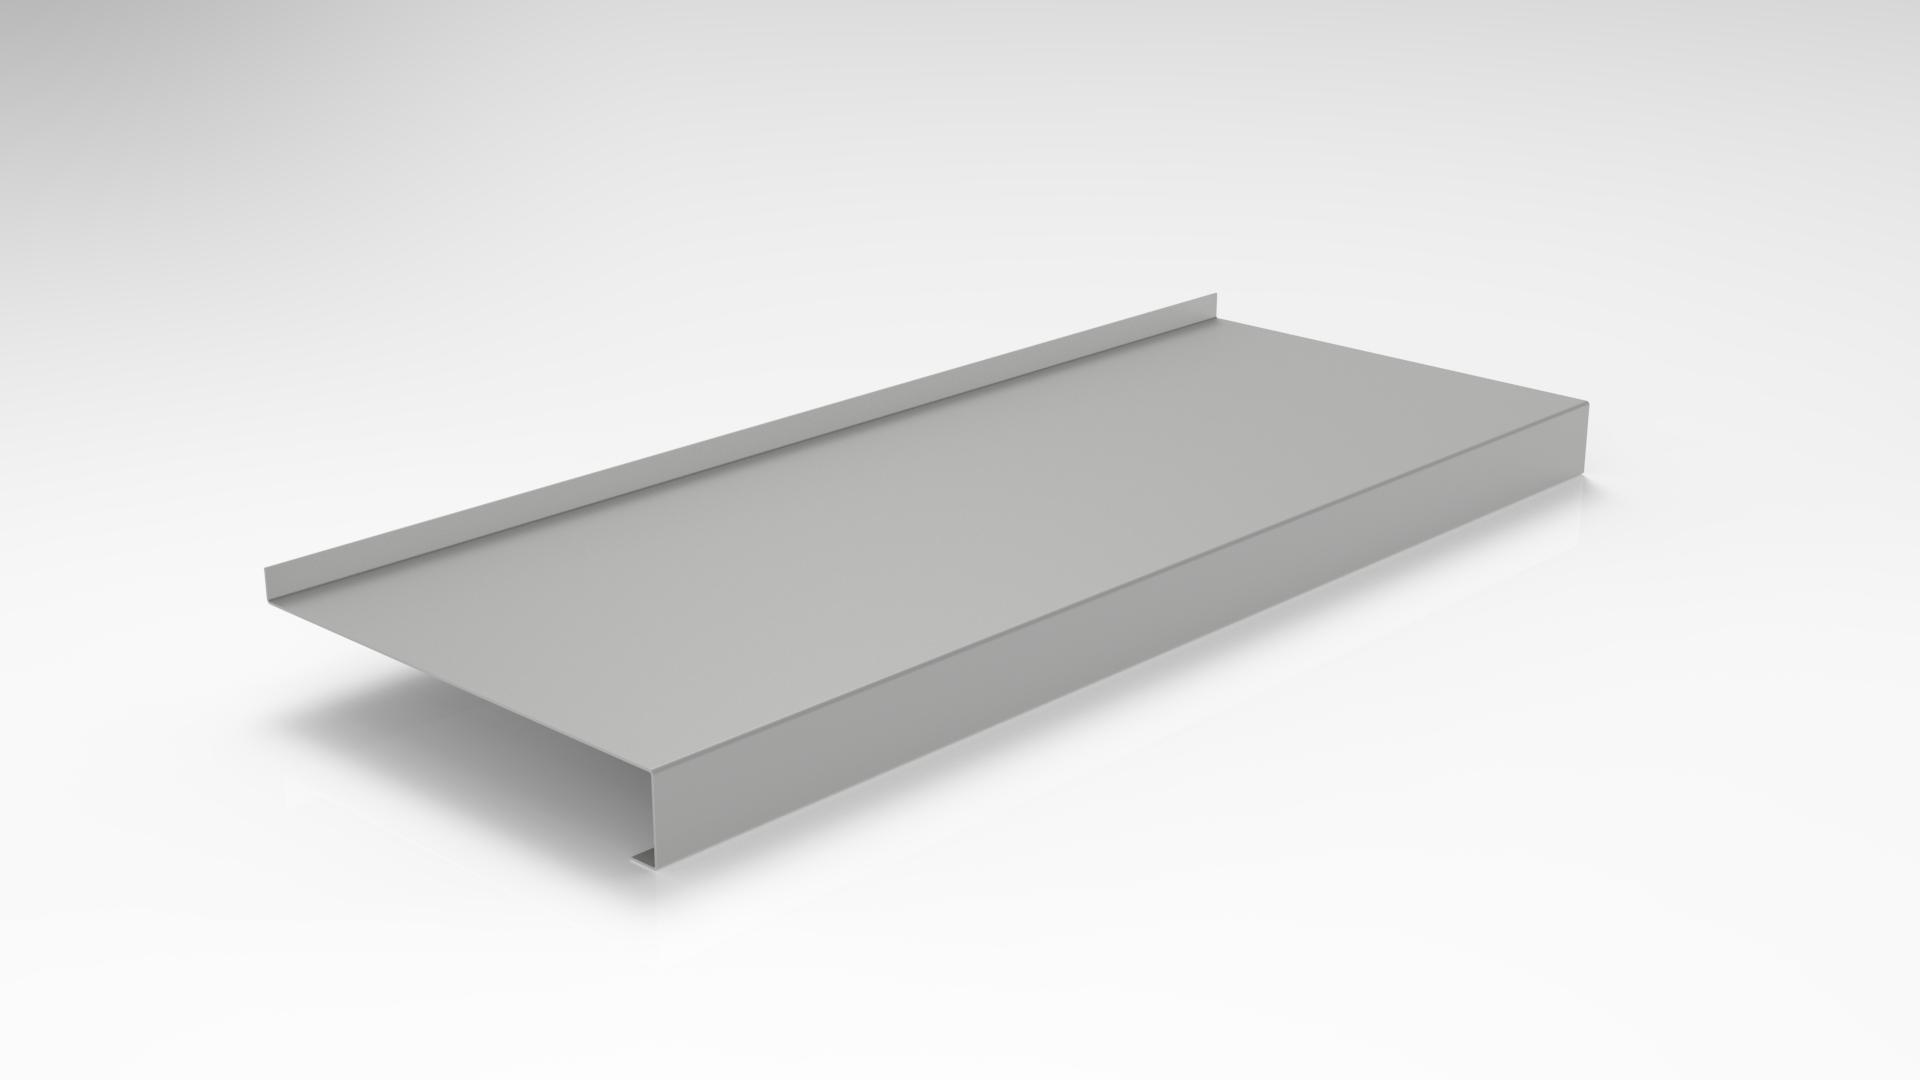
The model with a rear upstand adds a 10 mm rear lip that improves the seal at the joint with the joinery and gives the render something to finish against. It's particularly suited to facades with through-colored render and external wall insulation systems, where the finish has to integrate with the insulation and where a flush finish leaves a joint the render doesn't cover well.
At a threshold, that rear lip also does something it doesn't do at a window: it holds back the water that gets under the leaf when the wind pushes it, and gives it time to drain out the front instead of carrying on inside.
Section 09
Industrias Mas Aluminum Sills: Specifications
IMS sills are made to measure in lacquered aluminum, matched to the depth and length of each opening, for windows and for doors.
- Material: 1.5 mm aluminum.
- Coating: textured powder coat, resistant to corrosion, UV and scratches.
- Finish: profile with integrated drip edge that keeps water away from the wall.
- Models: without rear upstand, and with a 10 mm rear upstand for rendered facades or external wall insulation systems.
- ALU-DROP® end caps: UV-resistant thermoplastic polymer, right- and left-hand versions, press-fit with no screws or tools, removable and color-matched.
- Manufacturing: made to measure in length and depth, with angles and finishes adapted to the opening.
- Standard colors: anthracite grey RAL 7016, white RAL 9016, black RAL 9005 and ash grey RAL 7022, in a textured finish. Any other RAL color to order.
- Certification: ISO 9001:2015.
Section 10
How to Order a Door Sill Without Mistakes
- Quantity of units and the location of each one.
- Width of the finished opening, in millimeters, measured on the structure and not on the joinery, stating the planned return into each jamb.
- Required depth, from the joint with the joinery to the outer edge, including the projection that keeps the drip edge clear of the wall.
- Finished level of the outside paving, or the planned level if it hasn't been laid yet.
- Model: with or without rear upstand, depending on the facade finish.
- End caps, stating whether you need right, left or both.
- RAL reference, ideally the same as the joinery.
- Planned drainage in front of the threshold, if any, so the projection can be sized accordingly.
Section 11
Common Mistakes on Site
- Treating the threshold like a window ledge and applying the window solution without looking at drainage.
- Laying the outside paving later without respecting the planned level, burying the drip edge.
- Sealing the underside edge of the profile against the wall, which defeats exactly the gap that should be there.
- Leaving the ends open or closing them with sealant instead of an end cap.
- Leaving out the channel drain at level thresholds and relying on the door seal for weathertightness.
- Measuring the joinery instead of the structural opening, so the return into the jambs disappears.
- Fitting the profile with no fall, or with a back-fall because the bed was badly packed.
FAQ
Frequently asked questions
Can I use a window sill on a door?+
The profile can be the same, but the approach can't. At a door you also have to deal with the water arriving across the paving, because there the water doesn't fall, it runs. A correctly sized sill on a threshold with no drainage will still let water through in wind-driven rain.
What fall should it have?+
A clear outward fall — Spain's code, for example, specifies at least 10° for sills. At thresholds it's also worth checking that the fall doesn't create an awkward lip in the walkway, which in practice means spreading it over a greater depth.
How far from the wall should the drip edge be?+
At least 2 cm is a sound target, and NHBC's level-threshold detail asks for a projecting sill of at least 45 mm with a drip. Either way, that clearance has to survive once the paving and render are finished, which is where it usually gets lost.
Is a channel drain in front of the door mandatory?+
Where level access means the normal waterproofing upstand can't be achieved, the standards require the water to be dealt with another way, and a channel drain in front of the door is the usual technical solution. It should be designed in as part of the threshold detail, not added afterward.
Are end caps necessary or just a finishing touch?+
Both. They close off the end of the channel, which is a real point of water entry into the jamb, and they also finish the profile. The neat finish is the consequence, not the reason.
Do you have a door that lets water in when it rains with wind?+
Send us a photo of the threshold, the width of the opening and the level of the outside paving, and we'll tell you whether the problem can be solved with the profile or the drainage needs looking at.
Can a threshold sill be replaced without building work?+
It depends on how it was fixed. If the profile is simply screwed and sealed, replacing it is straightforward. If it's embedded in the paving's bedding mortar, the first row of tiles has to come up — and then it's worth taking the opportunity to check the level and the drainage.
Share