Key takeaways
17 min read
Key point 1
The window sill is a watertightness piece, not a decorative trim: UK practice specifies window sills to BS 5642-1, with NHBC detailing, wherever the window is recessed behind the outer face of the facade.
Key point 2
The length of the piece doesn't match the width of the opening: you add the side return into each jamb, commonly at least 2 cm per side.
Key point 3
The width of the profile is the depth of the ledge plus the projection outwards, and the drip edge should stand at least 2 cm clear of the facade wall.
Key point 4
A slope of at least 10º towards the outside is commonly used, and it's resolved in the bearing plane, not by improvising wedges at the moment of fitting.
Key point 5
On facades with one-coat render or external wall insulation, the model with a rear upstand improves how the junction with the window frame is resolved.
Key point 6
The side end caps close the open ends of the profile and stop water getting in through the jambs: they are the detail most often forgotten when ordering.
Key point 7
The window sill is made to measure in length and width, in 1.2 mm lacquered aluminum with 25 microns of polyester lacquer on both faces.
In this article
- What a Window Sill Is and What Problem It Solves
- Window Sill, Sill Ledge, Drip Edge and End Caps: Each Piece by Name
- What UK Practice Expects and Why It Conditions Your Measurements
- The Measurements You Need to Take, One by One
- How to Measure in Practice: the Five Usual Cases
- With or Without Rear Upstand: Which Model to Choose
- Side End Caps: the Finish That Decides the Result
- Material and Finish: Why Lacquered Aluminum
- Long Windows, Joints and Movement
- Common Mistakes When Measuring and Ordering
- How to Send the Order to the Factory
- ALU-DROP® Window Sills by Industrias Mas
- Frequently asked questions
The window sill is a watertightness piece, not a decorative trim: UK practice specifies window sills to BS 5642-1, with detailing guided by NHBC Standards, wherever the window sits recessed behind the outer face of the facade.
The length of the piece doesn't match the width of the opening: you have to add the side return into each jamb, commonly taken as at least 2 cm per side.
The width of the profile is the depth of the sill ledge plus the projection outwards, and the drip edge should stand at least 2 cm clear of the facade wall.
The slope towards the outside is commonly taken as at least 10º, and it is resolved in the bearing plane, not by improvising wedges at the moment of fitting.
On facades with one-coat render or external wall insulation, the model with a rear upstand improves how the junction with the window frame is resolved.
The side end caps close the open ends of the profile and stop water getting in through the jambs: they are the detail most often forgotten when ordering.
The window sill is made to measure in length and width, in 1.2 mm lacquered aluminum with 25 microns of polyester lacquer on both faces.
Section 02
What a Window Sill Is and What Problem It Solves
A window sill is the piece that finishes the sill ledge of a window on its outer face. Its job is to collect the water reaching the opening — what falls directly and what runs down the glass and the frame — and throw it far enough from the wall that it doesn't touch it again as it falls.
Put like that it sounds like little. In practice it's one of the points where the most defects on a facade are concentrated. Under every window there is a joint between two materials that move differently, an almost horizontal plane that holds water and two jambs through which water can enter sideways. When that junction is badly resolved, three very recognisable kinds of damage appear: the dark streak under the window, which permanently dirties the facade; damp inside the sill ledge, which ends up at the bottom of the opening and at the base of the partition; and deterioration of the ledge itself, which cracks, fills with mould and ends up having to be chipped out.
A properly sized window sill cuts those three paths at once. It doesn't do so by being aluminum or by being lacquered, but by its geometry: a continuous surface with a slope outwards, enough projection to separate the water from the wall, a drip edge that breaks surface tension and forces the drop to detach, and a side closure that stops entry through the jambs. If any of those four things is missing, the piece stops doing its job even if the material is impeccable.
That's why this article gives more space to measurements than to material. A badly measured aluminum window sill protects less than a modest one measured well.
Section 03
Window Sill, Sill Ledge, Drip Edge and End Caps: Each Piece by Name
There are four terms that are used as if interchangeable and aren't. Clearing them up saves misunderstandings on the order.
The sill ledge (the structural sill) is the horizontal building element that closes the opening at the bottom: the top of the sill wall. It can be masonry, concrete, stone or precast. It's the substrate.
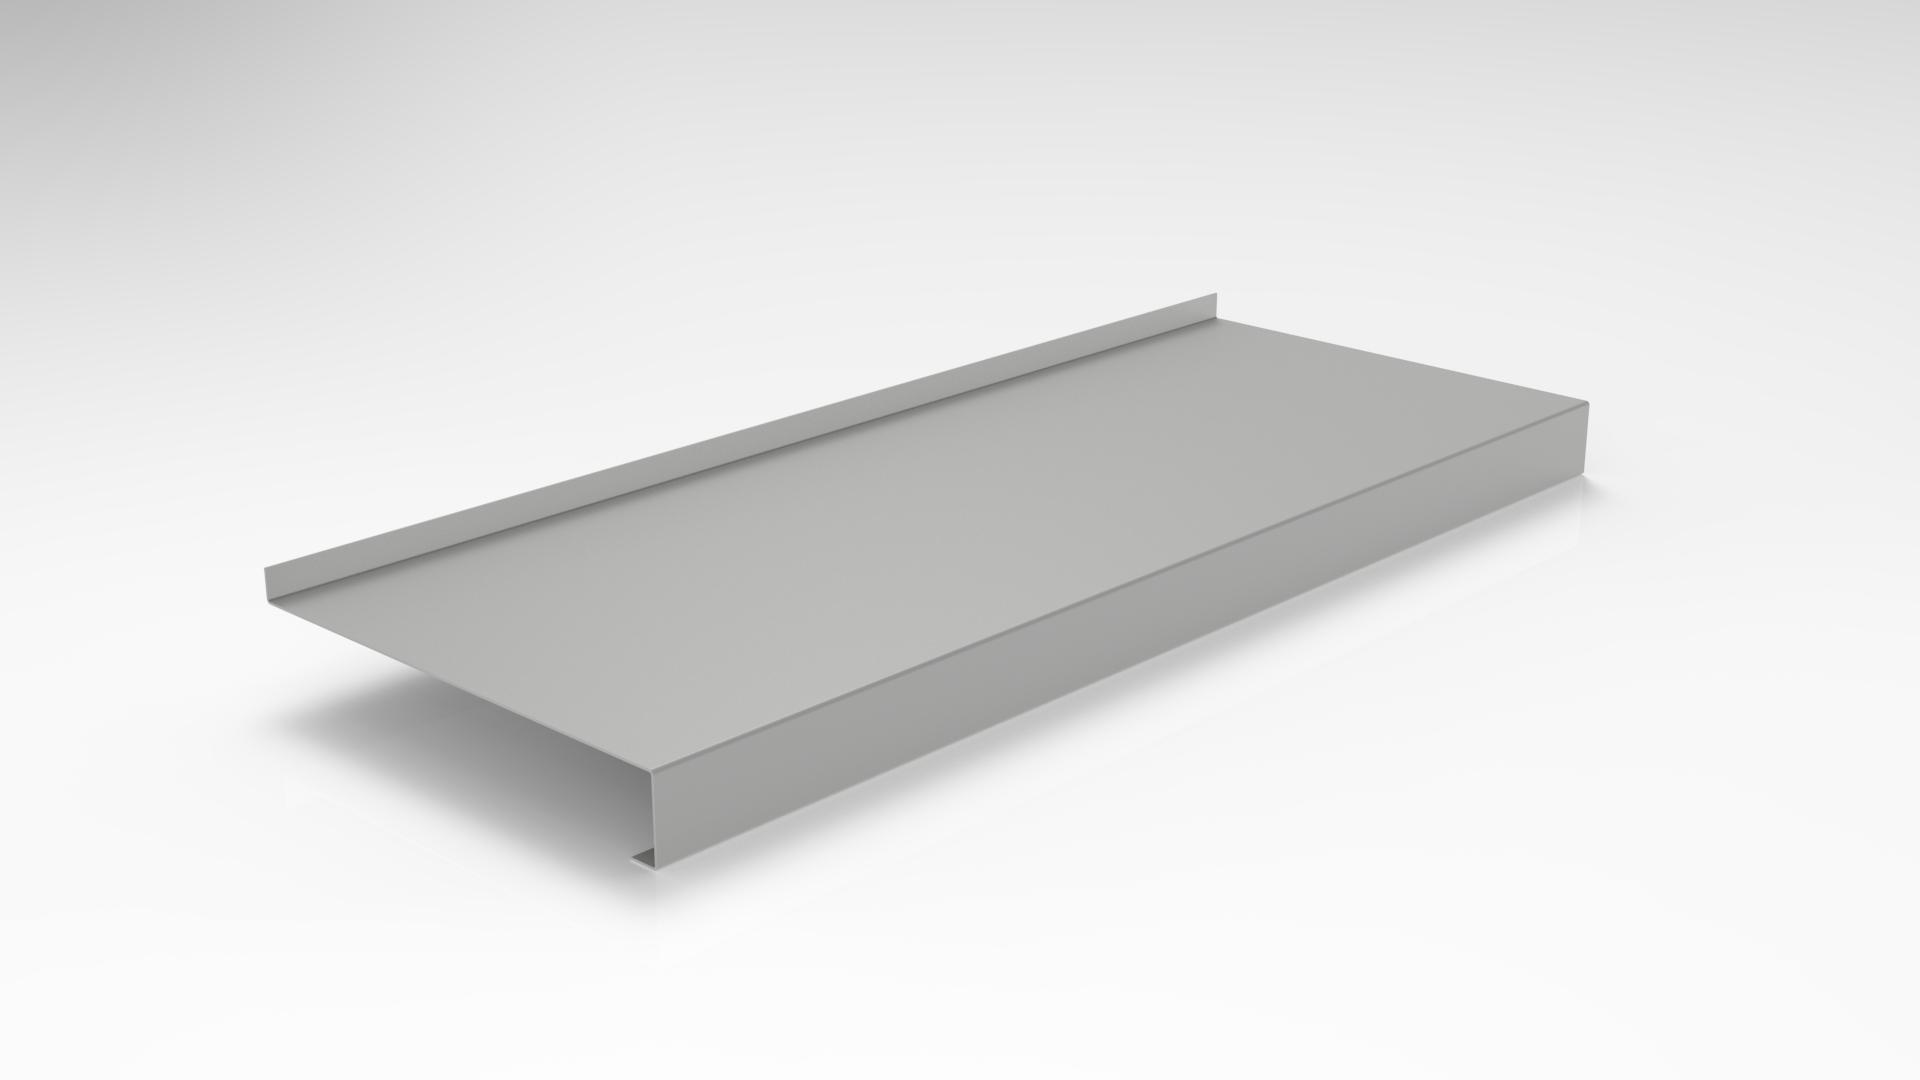
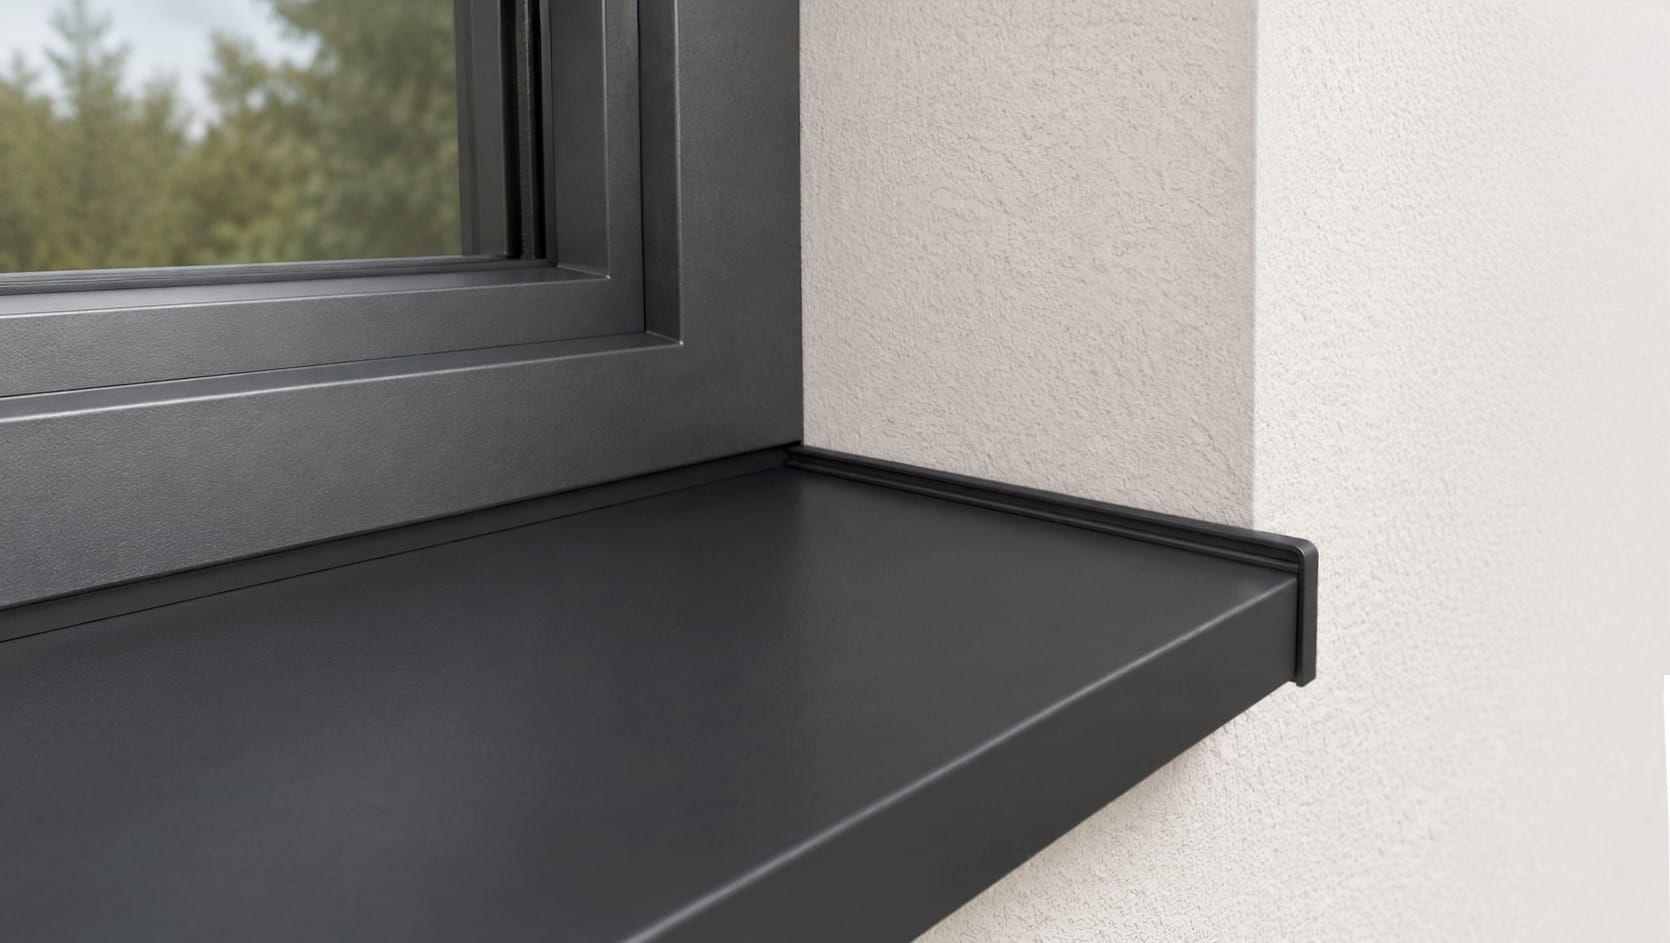
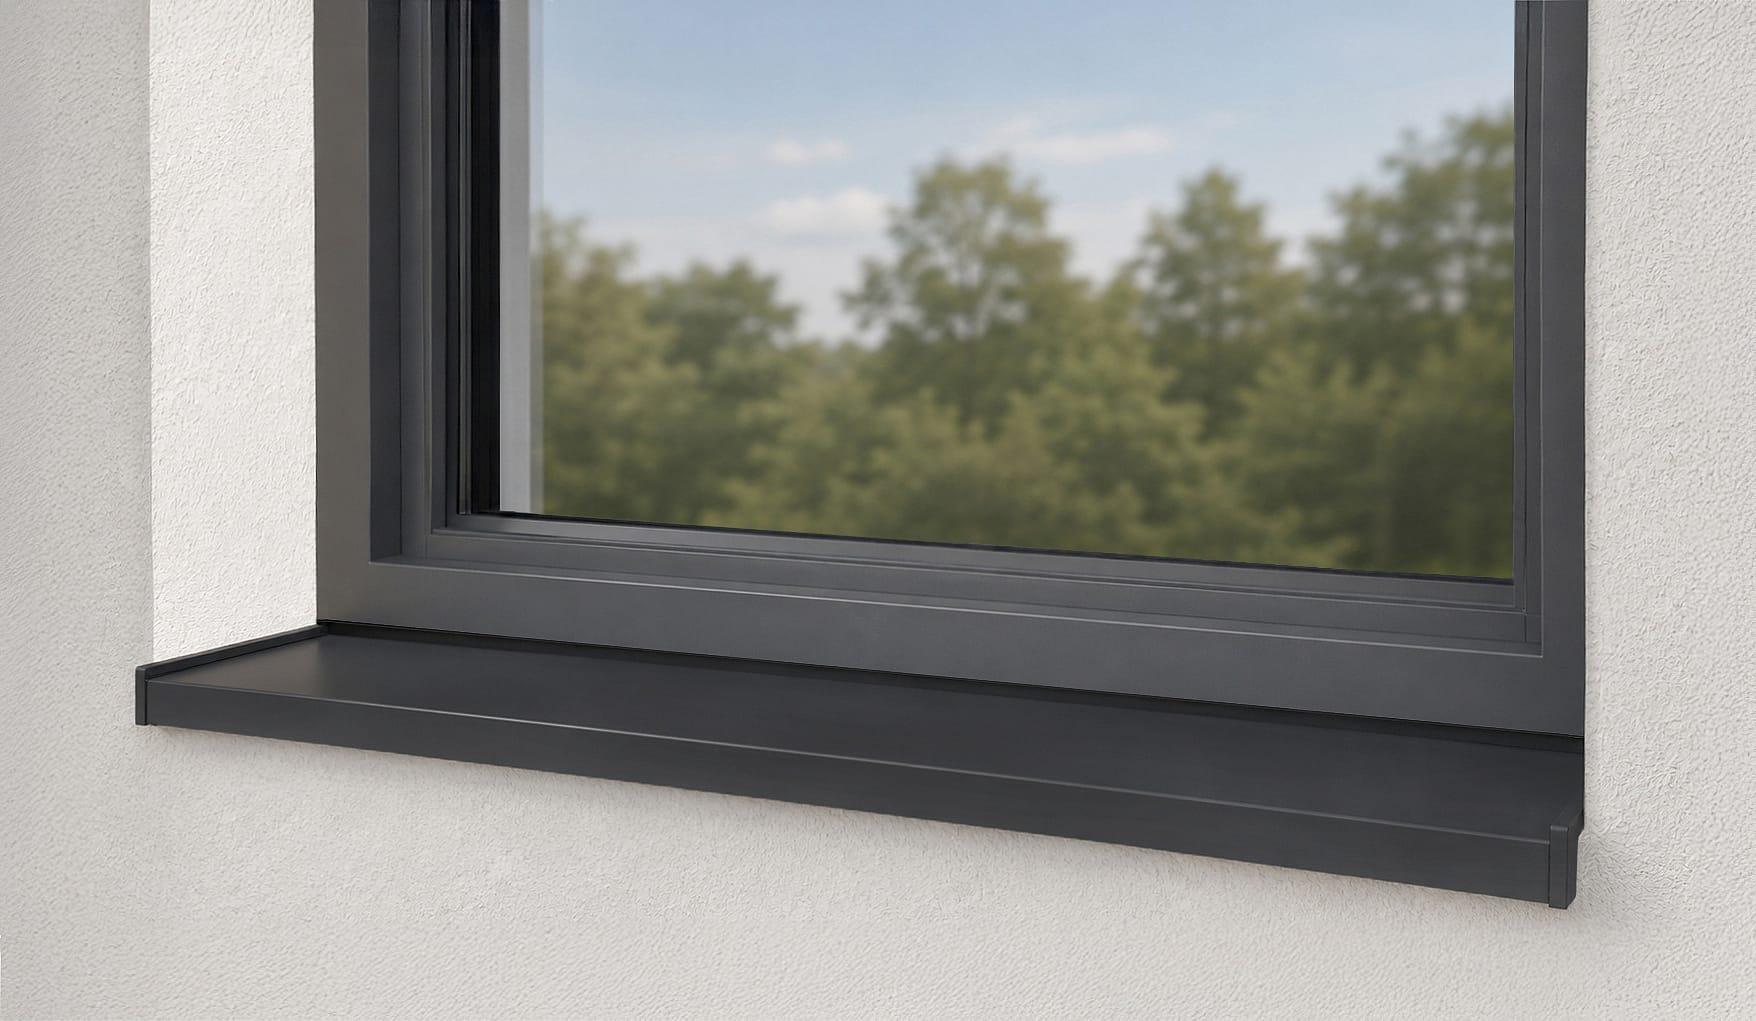
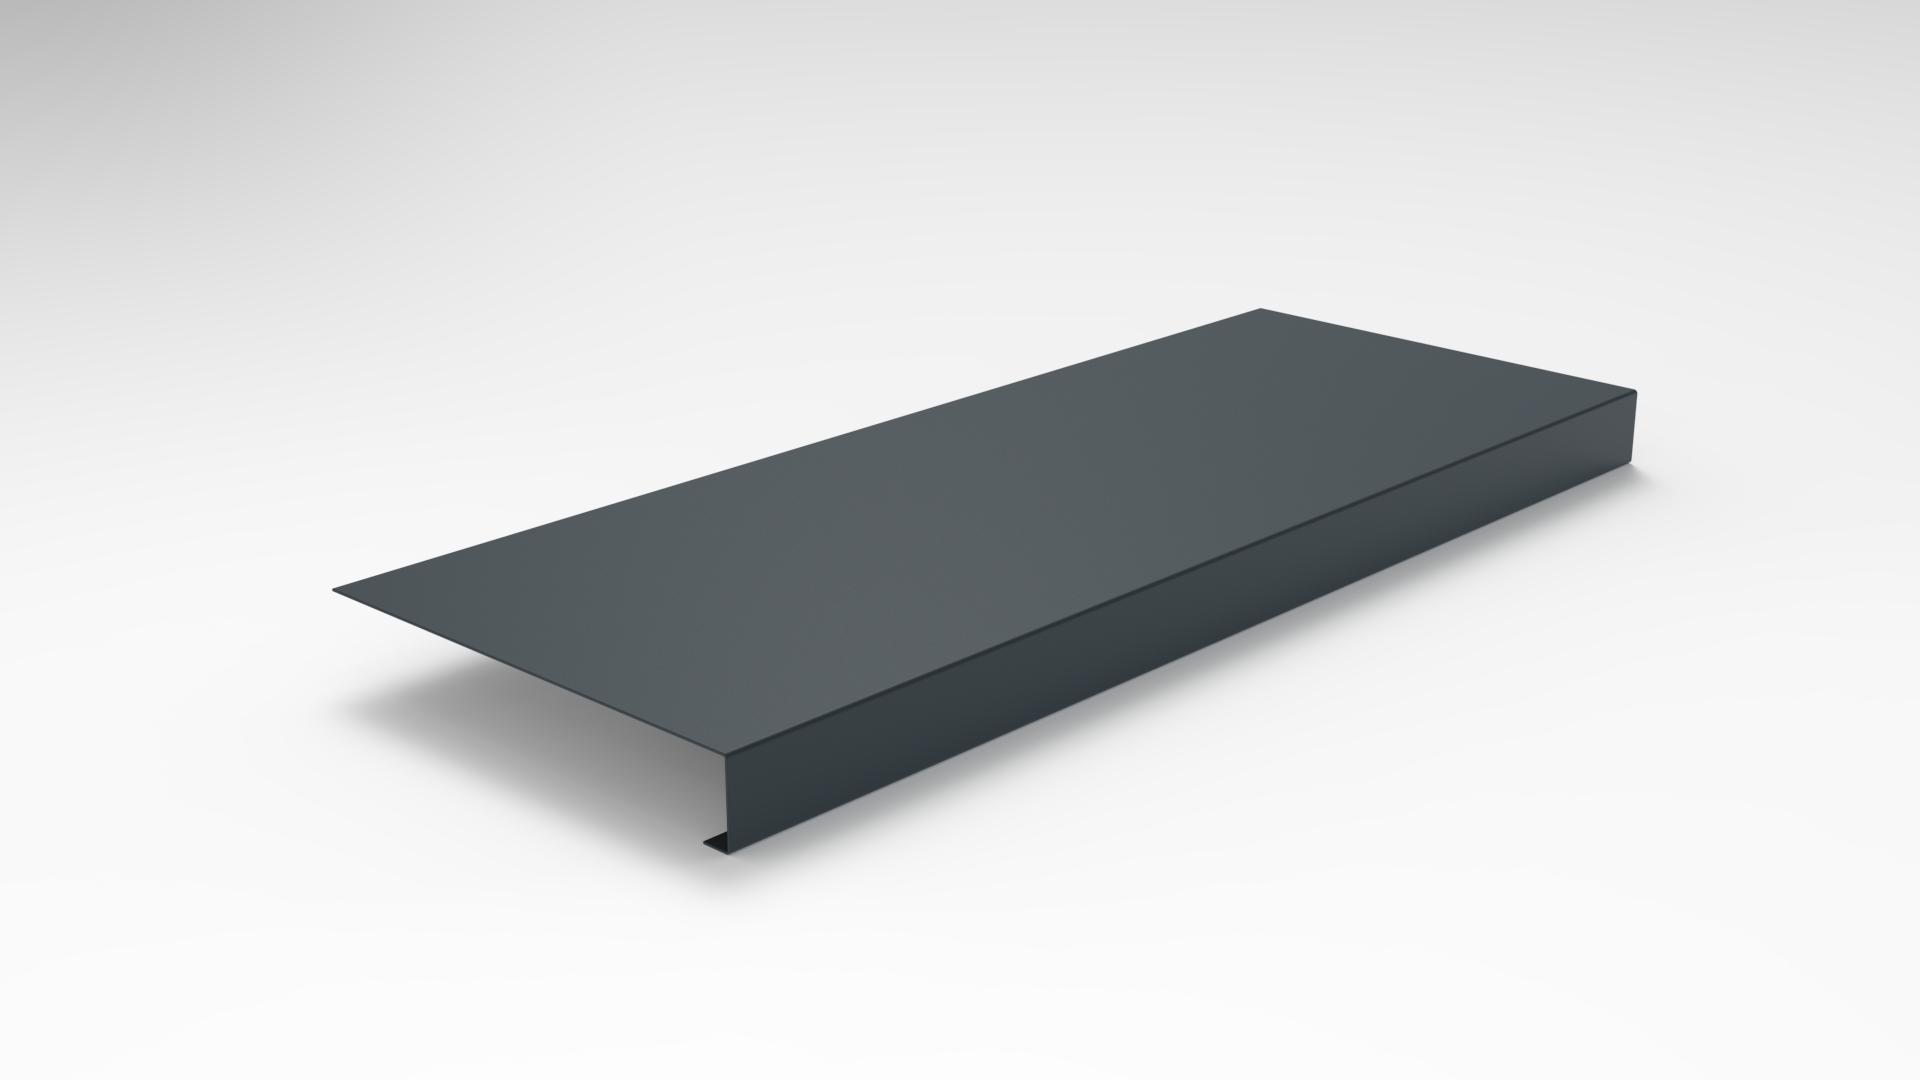
The window sill is the cap fitted over that ledge to shed the water. On site it's also called a window cill or, less precisely, an 'aluminum sill'. It's the piece you are ordering.
The drip edge is the ridge or groove on the underside of the projection. Its only job is for the drop to detach there and not follow along under the profile until it reaches the facade. It's a detail of millimetres with a disproportionate effect: without a drip edge, the water runs along the underside by capillary action and ends up exactly where we don't want it.
The side end caps are the pieces that close the two open ends of the profile, one for each jamb. By its shape, the profile is hollow at the edges; if those edges are left open, the water running on the surface finds a direct path into the wall at the point that is hardest to repair.
In the ALU-DROP® system these caps are made in left-hand and right-hand versions, fit by pressure with no tools or screws and carry a 10 mm lip designed to be embedded in the finish when the facade is one-coat render or has external wall insulation.
Section 04
What UK Practice Expects and Why It Conditions Your Measurements
This is the point that turns an aesthetic decision into a technical one. Protecting the junction between facade and window against moisture is a core requirement of UK building design. Window sills are specified to BS 5642-1, with detailing guided by NHBC Standards (Chapter 6.11, Copings and Cills Detailing), and the conditions are very specific. The figures below are commonly used design values (they match those in Spain's CTE) rather than a citation of a particular clause; confirm the requirement for your project.
First, where the window sits recessed behind the outer face of the facade, the sill ledge should be finished with a window sill that carries the water outwards and stops it reaching the part of the facade immediately below. That is: on most windows, the window sill isn't optional.
Second, the window sill should have a slope towards the outside of at least 10º, and be impermeable or laid over a waterproof barrier fixed to the frame or the wall, extended at the rear and on both sides of the piece, with that same minimum slope.
Third, the window sill should have a drip edge on the underside of the projection, set at least 2 cm clear of the outer face of the facade.
And fourth — the requirement that spoils the most orders — the side return into the jamb should be at least 2 cm on each side.
There is a fifth point that appears only when the window is long: if the solution is resolved with several pieces, the joint between them should reproduce the shape of the drip edge, so the joint itself doesn't become a bridge through which water reaches the facade.
Three practical consequences follow directly. The length to order is the width of the opening plus the two side returns. The width of the profile has to allow the drip edge to fall at least 2 cm in front of the finished facade plane, not of the raw wall. And the slope must be resolved in the bearing before the piece is fitted, because a metal profile resting on a horizontal plane doesn't create a slope by itself.
It's worth remembering that the same logic applies to the coping on top of parapets and walls: a minimum slope, drip edges set at least 2 cm clear and waterproof continuity. It's the same criterion in another position of the building.
Section 05
The Measurements You Need to Take, One by One
With the above in hand, the list of data stops being an arbitrary list and starts to make sense.
Width of the opening between jambs. Measured from jamb to jamb, in the plane where the piece will bear, and always on the finished surface. It's the starting figure, but it isn't the length of the window sill.
Total length of the piece. It's the width of the opening plus the side return into each jamb. With 2 cm per side, the piece measures 4 cm more than the opening. If the project or the construction solution asks for more return, it's increased. This is the number to send to the factory.
Depth of the sill ledge. It's the distance from the plane of the window frame — or the sub-frame — to the outer edge of the finished ledge. It defines how much profile bears.
Projection. It's how far the piece sticks out in front of the finished facade plane. It must be enough for the drip edge to stand 2 cm or more from the wall. If the facade has one-coat render or external wall insulation, the projection is measured against the final thickness of the finish, not against the brick.
Total width of the profile. It's the sum of the depth of the ledge and the projection. It's the second number that goes on the order.
Slope available at the bearing. It's worth checking with a level whether the ledge already falls outwards and by how much. If it's flat or falls inwards — more frequent than it seems in refurbishment — the slope has to be formed before anything is fitted.
Condition and nature of the substrate. Fixing isn't the same on a continuous concrete ledge, on natural stone or on a masonry sill wall with a bedding layer. The information matters for choosing the fixing.
Position of the window frame. Recessed, flush with the outer face or with a sub-frame. It conditions the model and whether a rear upstand is needed.
RAL colour. The finish is defined on the order and isn't reversible once the piece is made.
Number of units and grouping by size. On jobs with many openings, grouping identical windows avoids errors and simplifies receiving the material on site.
Section 06
How to Measure in Practice: the Five Usual Cases
New build with the window frame not yet fitted. Measure on the sub-frame and on the planned finishes, not on the current state. It's the most convenient case and also where most mistakes are made, because dimensions are taken from a wall that is still going to grow with the finish. You have to work with the design dimensions of the finished surface.
Refurbishment with the window already installed. Measure what's there, with the real finish. It's worth checking that both jambs are square: if the opening isn't exactly rectangular, it's better to take the width at the most unfavourable point and resolve the fit with the side return.
Facade with one-coat render or external wall insulation. The reference plane is the outer face of the finished coating. This is where the model with a rear upstand and the 10 mm lip of the side end caps make sense: they let the finish meet the piece instead of dying against it.
Stone or precast jambs. The side return must go into the material, not stop butt against it. If chasing isn't possible, it has to be defined before manufacture so the junction can be resolved another way.
Replacing an existing window sill. Don't copy the measurement of the old piece without checking it. If the old one was causing problems, the reason is very likely that it lacked projection or side return. Measure the opening again from scratch.
In every case, and when the job allows, the most useful check is the simplest: pour a little water on the ledge and see where it goes.
Section 07
With or Without Rear Upstand: Which Model to Choose
The ALU-DROP® window sill is made in two configurations.
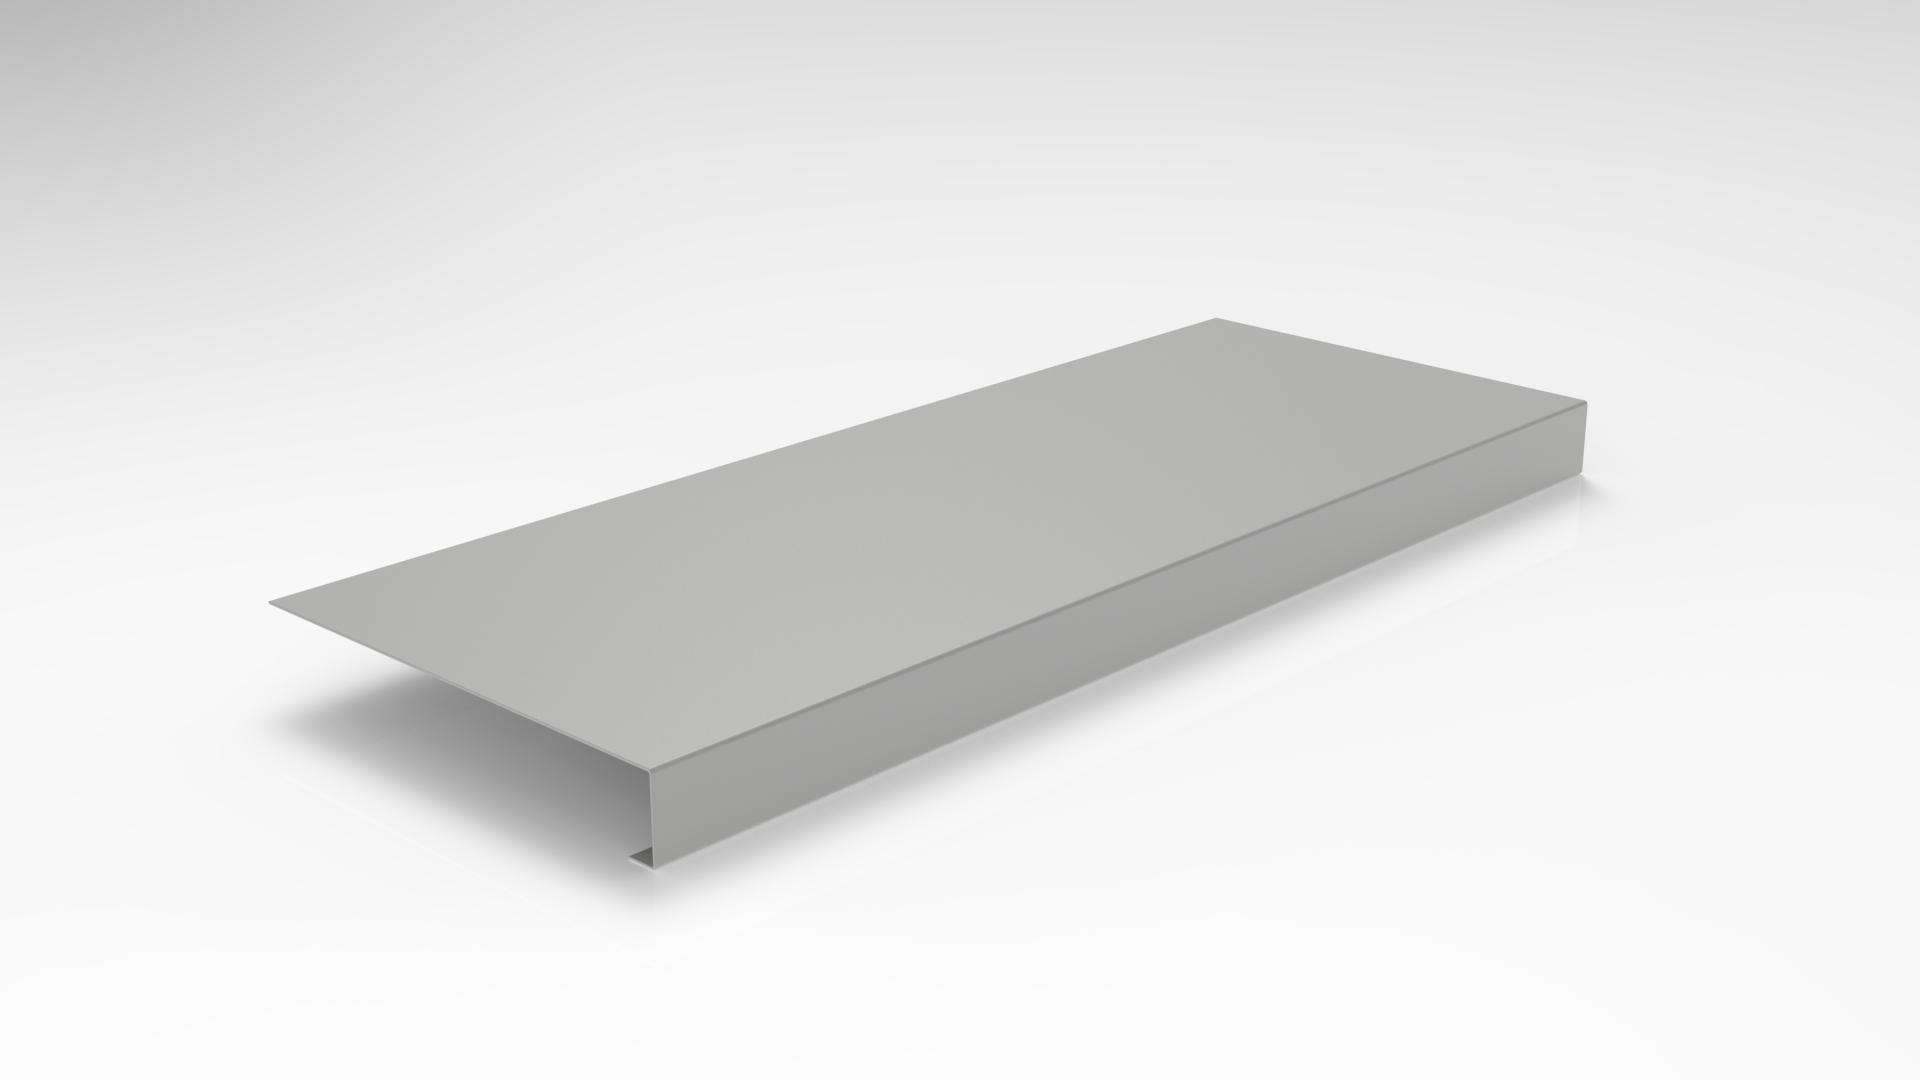
The model without rear upstand is the standard profile. It redirects rainwater away from the wall and prevents stains and leaks on the facade. It's the usual solution when the junction with the window frame is already resolved another way — sealing, a waterproof barrier under the piece, a correctly finished sub-frame — and what's needed is the external finish.
The model with rear upstand incorporates a 10 mm upstand at the back of the profile, which improves the watertightness of the junction with the window. It's recommended for facades with one-coat render or external wall insulation, where the coating reaches the window frame and an element is needed to resolve that junction without depending solely on a bead of sealant.
The selection criterion is simple. If the facade finish reaches the opening, or if the junction between window frame and wall isn't resolved with a clear waterproof barrier, the rear upstand adds security. If the junction is already resolved and only the external finish is missing, the standard model does the job.
What isn't advisable is deciding it on site on assembly day. It's a piece of information for the order, because it changes the geometry of the manufactured profile.
Section 08
Side End Caps: the Finish That Decides the Result
It's the part most underestimated. A window sill profile, by its own section, is open at both edges. That opening is exactly at the jamb, which is the point where water has the shortest path into the wall and the most expensive to repair afterwards.
ALU-DROP® side end caps close those ends. They are made in high-strength thermoplastic resistant to UV rays and weather, in left-hand and right-hand versions, and fit by pressure, with no tools or screws. They are also made to measure, according to the exact depth of the ledge, and are supplied in a RAL close to that of the window sill so the assembly looks integrated.
They also have a 10 mm lip that serves as a support for the finish when the facade is one-coat render or has external wall insulation, and they are removable, which makes cleaning and maintenance of the profile easy without dismantling anything.
The practical recommendation is always to include them in the order. Adding them afterwards means knowing the exact depth of the installed profile and a second dispatch; ordering them from the start has no logistics cost at all.
Section 09
Material and Finish: Why Lacquered Aluminum
Aluminum is the logical material for this piece for three concrete reasons.
It doesn't rust. On an element that will be permanently wet, with wetting and drying cycles and with dirt building up at the back, this is no minor detail: it rules out rust streaks on the facade at source.
It's light and formable. It allows the profile to be made with the projection and the drip edge integrated in a single continuous piece, with no intermediate joints along the length of the window, which is where leaks would appear.
It takes lacquer in the whole RAL chart. The window sill can be matched to the window frames, to the finish or to the metalwork, without having to accept a colour imposed by the material.
In the ALU-DROP® system specifications, the profile is made in lacquered aluminum 1.2 mm thick, with 25 microns of polyester lacquer applied on both faces and high resistance to corrosion and ultraviolet rays. Lacquering on both faces matters more than it seems: the hidden face of the window sill is in contact with the bedding layer and with the moisture held in the ledge, and it's where a piece protected only on top degrades first.
The standard colours are RAL 7016 anthracite grey, RAL 9006 natural, RAL 9005 black and RAL 9003 white, with RAL 7022 ash grey also available on the chart. Any other RAL colour is made to order. Manufacture is under ISO 9001:2015 certification.
Section 10
Long Windows, Joints and Movement
On large openings — continuous windows, bay windows, terrace enclosures — the question arises whether the piece can go in one go or has to be resolved with several.
The underlying criterion is that every joint is a risk, so the first thing is to exhaust the possibility of making the piece continuous. When that isn't possible, the rule of thumb is that the joint between pieces with a drip edge should reproduce the shape of the drip edge itself, so the water finds no path through it to the facade. In practice this means resolving the junction with a lap in the direction of run-off and with a continuous drip edge, not a simple sealed butt joint.
There is a second factor to bear in mind on long pieces: expansion. Aluminum moves with temperature, and a south-facing window sill can reach surface temperatures well above ambient. A long piece rigidly fixed along its whole length tends to buckle. It's worth allowing for that movement in the fixing system and in the manufacturing allowance of the piece.
For out-of-the-ordinary openings, the sensible thing is to send the drawing or elevation to the factory along with the measurements and settle the cutting solution before manufacture.
Section 11
Common Mistakes When Measuring and Ordering
Ordering a length equal to the width of the opening. It's the most repeated mistake. The piece arrives tight, there's no return into the jambs and the water gets in at the sides from the first storm.
Measuring on the raw wall. If the facade is going to have one-coat render, external wall insulation or cladding, the real projection is reduced by the thickness of the finish. The drip edge ends up against the wall and stops working.
Leaving the projection at the minimum for looks. A window sill that barely projects looks very discreet and stains the facade just as if it weren't there. The 2 cm between drip edge and wall is a minimum, not a target.
Leaving the slope to the assembly. If the ledge is flat, the piece will be flat. The water will be held at the back, right against the window frame.
Forgetting the side end caps. They're ordered at the end, when the piece is already fitted and you have to measure again. It's a cheap finish that resolves the most vulnerable point.
Copying the measurement of the piece being replaced. If that one was causing problems, the measurement is part of the problem.
Defining the colour on site. Lacquering is applied at the factory. Changing it afterwards means manufacturing again.
Not grouping identical openings. On jobs with many windows, a disordered list multiplies errors in receiving and fitting.
Section 12
How to Send the Order to the Factory
For an order to be manufactured without back-and-forth, it's enough to send this information per opening or per group of identical openings:
- Total length of the piece, with the side returns already included.
- Total width of the profile, that is, ledge depth plus projection.
- Model: with or without rear upstand.
- Side end caps: yes or no, stating right and left per opening.
- RAL colour.
- Number of units.
- Type of facade and planned finish, whether one-coat render or external wall insulation.
- Drawing or elevation, when the opening isn't a conventional rectangle.
The website's quotation form accepts attached documentation in PDF, JPG, PNG, XLSX, CSV, DWG and DXF up to 10 MB, which lets you send the cutting list or the construction detail directly. The response time for quotation requests is 24 hours on working days.
If there is any doubt about the projection, the side return or the cutting of a long piece, it's quicker to settle it before manufacture than after receiving the material.
Section 13
ALU-DROP® Window Sills by Industrias Mas
The Industrias Mas window sills are made to measure in length and width, in lacquered aluminum with an integrated drip profile, in two configurations — with rear upstand and without rear upstand — and with ALU-DROP® pressure-fit side end caps.
Industrias Mas Salvadó y Sucesores has manufactured aluminum construction products since 1968, with its own plant in Tàrrega (Lleida) and an ISO 9001:2015 certified quality system. Made-to-measure manufacture is what resolves the underlying problem here: a window opening rarely matches a catalogue size, and adjusting the piece on site by cutting or forcing joints is precisely what causes the leaks the window sill was meant to prevent.
The system technical data sheet gathers the full specifications, the fitting sequence and the components of the assembly. The 2D drawings of the right-hand cap and the left-hand cap are available for incorporation into the construction detail.
FAQ
Frequently asked questions
What measurements do I need to order a made-to-measure window sill?+
Two at minimum: the total length of the piece, which is the width of the opening plus the side return into each jamb, and the total width of the profile, which is the depth of the ledge plus the projection outwards. With those two figures, the model and the colour, the order can be manufactured.
How far should the window sill project from the facade?+
Enough for the drip edge on the underside to stand at least 2 cm clear of the outer face of the finished facade, a commonly used design value. If the facade is going to have a finish, that thickness is deducted from the projection available.
How much slope should it have?+
A slope of at least 10º towards the outside is commonly used. That slope is formed in the bearing plane before the piece is fitted; a profile resting on a horizontal ledge doesn't create it by itself.
What is the side return and why does it lengthen the piece?+
It's the part of the window sill that goes into each jamb, with a commonly used minimum of 2 cm per side. It's there so the water running on the surface finds no way into the wall at the ends. With the minimum, the piece measures 4 cm more than the width of the opening.
Should it be ordered with a drip edge?+
Yes, and in practice it's not an option but a requirement: the drip edge separates the drop from the wall and is what prevents stains and damp under the window. In the ALU-DROP® system the drip profile is integrated in the piece itself.
What are the side end caps for?+
They close the two open ends of the profile and stop water seeping in through the jambs. They are made in UV-resistant thermoplastic, in left-hand and right-hand versions, fit by pressure with no tools and are removable to make cleaning easy.
When is the model with rear upstand needed?+
When the facade has one-coat render or external wall insulation, or when the junction between window frame and wall needs reinforcing. The 10 mm upstand improves the watertightness of that junction instead of leaving it dependent on a bead of sealant alone.
What colours is it made in?+
In lacquered aluminum, with RAL 7016, RAL 9006, RAL 9005 and RAL 9003 as standard colours and RAL 7022 also on the chart. Any other colour from the RAL chart is made to order.
What thickness and finish does the profile have?+
Lacquered aluminum 1.2 mm thick, with 25 microns of polyester lacquer applied on both faces and high resistance to corrosion and ultraviolet rays.
Can a window sill be replaced without touching the window?+
In most cases yes, as long as the ledge is in good condition and has a slope. What isn't advisable is reproducing the measurement of the old piece without checking it: if it was causing problems, the measurement is often part of the problem.
What if the window is longer than a single piece?+
It's resolved by cutting into sections, with the joint made so that it reproduces the shape of the drip edge, so the joint itself doesn't carry water towards the facade. In these cases it's worth sending the drawing to the factory before manufacture.
Share