Key takeaways
7 min read
Key point 1
Nominal diameter and girth are different quantities expressed with similar numbers. Mixing them up is behind most orders that arrive wrong.
Key point 2
Girth is the width of the flat sheet before folding: it's the manufacturing measurement.
Key point 3
Girth grows linearly with diameter, but cross-section grows with the square of the radius.
Key point 4
Box and design sections can't be read off half-round tables: their equivalent cross-section has to be recalculated, and it comes out larger.
Key point 5
Calculate the required cross-section first, then translate it into girth. Never the other way round.
In this article
- The Three Measurements and What Each One Means
- From Cross-Section to Girth
- Non-Half-Round Sections
- How to Measure the Girth of an Installed Gutter
- Length, Thermal Expansion and Joints
- Corners and Ends: How to Count Them
- A Note on Hydraulic Sizing
- Industrias Mas Rainwater Gutters: Specifications
- How to Order a Made-to-Measure Gutter Without Mistakes
- Common Mistakes on Site
- Frequently asked questions
There's a conversation that repeats itself every time someone asks for a gutter quote for the first time.
—I need a 150 gutter.
—150 diameter or 150 girth?
And then there's a silence, because these are two completely different quantities expressed with the same number, and they have nothing to do with each other.
This article clears up the three measurements that define a gutter, how you get from one to another, and what information a made-to-measure order needs so there are no surprises.
Section 02
The Three Measurements and What Each One Means
The drainage cross-section is the useful internal area the water flows through, expressed in square centimeters. It's the quantity that decides whether the gutter has enough capacity for the roof it serves. It's what gets calculated.
The nominal diameter is the dimension used to identify half-round profiles: 100, 125, 150, 200, 250 mm. It's a commercial label derived from the cross-section.
The girth (also called the developed width) is the width of the flat sheet before it's folded. It's the manufacturing measurement: what gets cut from the coil. It's expressed in millimeters, and the usual commercial values are 250, 333, 400 and 500 mm.
The relationship between the three is direct but not obvious, and it always runs in the same direction: you calculate the required cross-section, that cross-section determines the geometry, and the geometry determines the girth.
Section 03
From Cross-Section to Girth
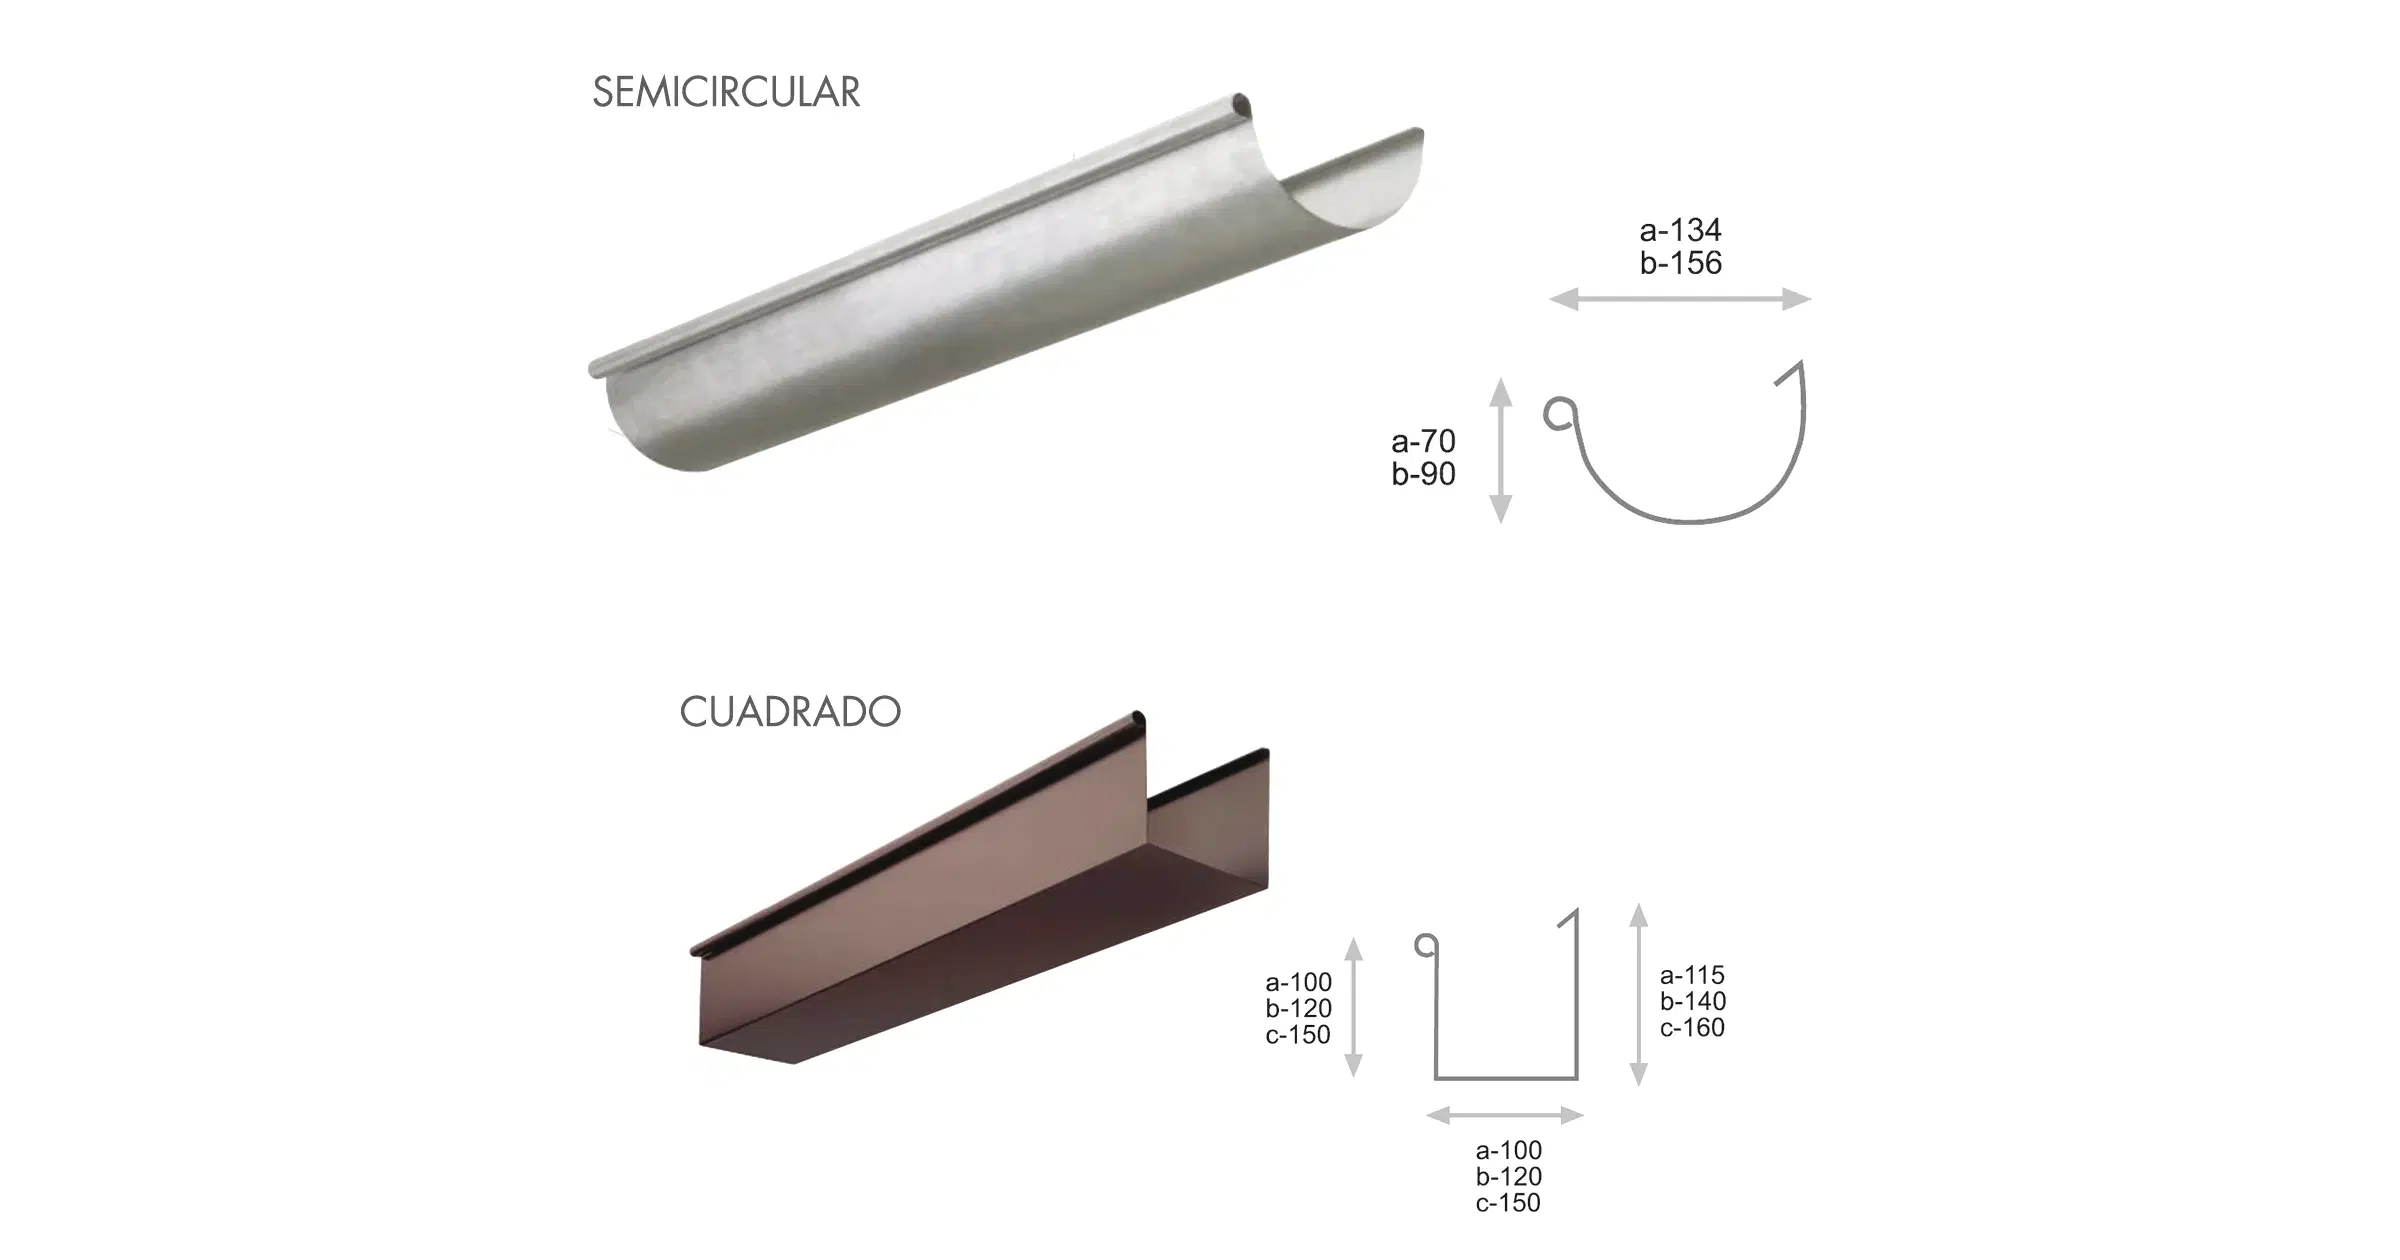
For a half-round gutter, the girth is the length of the unfolded perimeter: half the circumference plus whatever the edges take up.
Girth ≈ (π × D ÷ 2) + edges
With a gutter of 150 mm nominal diameter:
- Half circumference: π × 150 ÷ 2 = 236 mm
- Edges and stiffening beads: between 60 and 90 mm depending on the profile
- Resulting girth: around 300–330 mm
That's why a Ø150 gutter is usually made from a 333 mm girth. The figure isn't arbitrary: it comes from the geometry.
And the cross-section of that same gutter, which is what matters for the hydraulic calculation:
Half-round cross-section = π × r² ÷ 2 = π × 75² ÷ 2 ≈ 8,836 mm² ≈ 88 cm²
The logic is worth remembering: girth grows linearly with diameter, but cross-section grows with the square of the radius. Going from Ø100 to Ø150 means 50% more girth — and therefore more material and cost — but more than double the drainage capacity. That's why moving up one size is usually better value than it looks.
Section 04
Non-Half-Round Sections
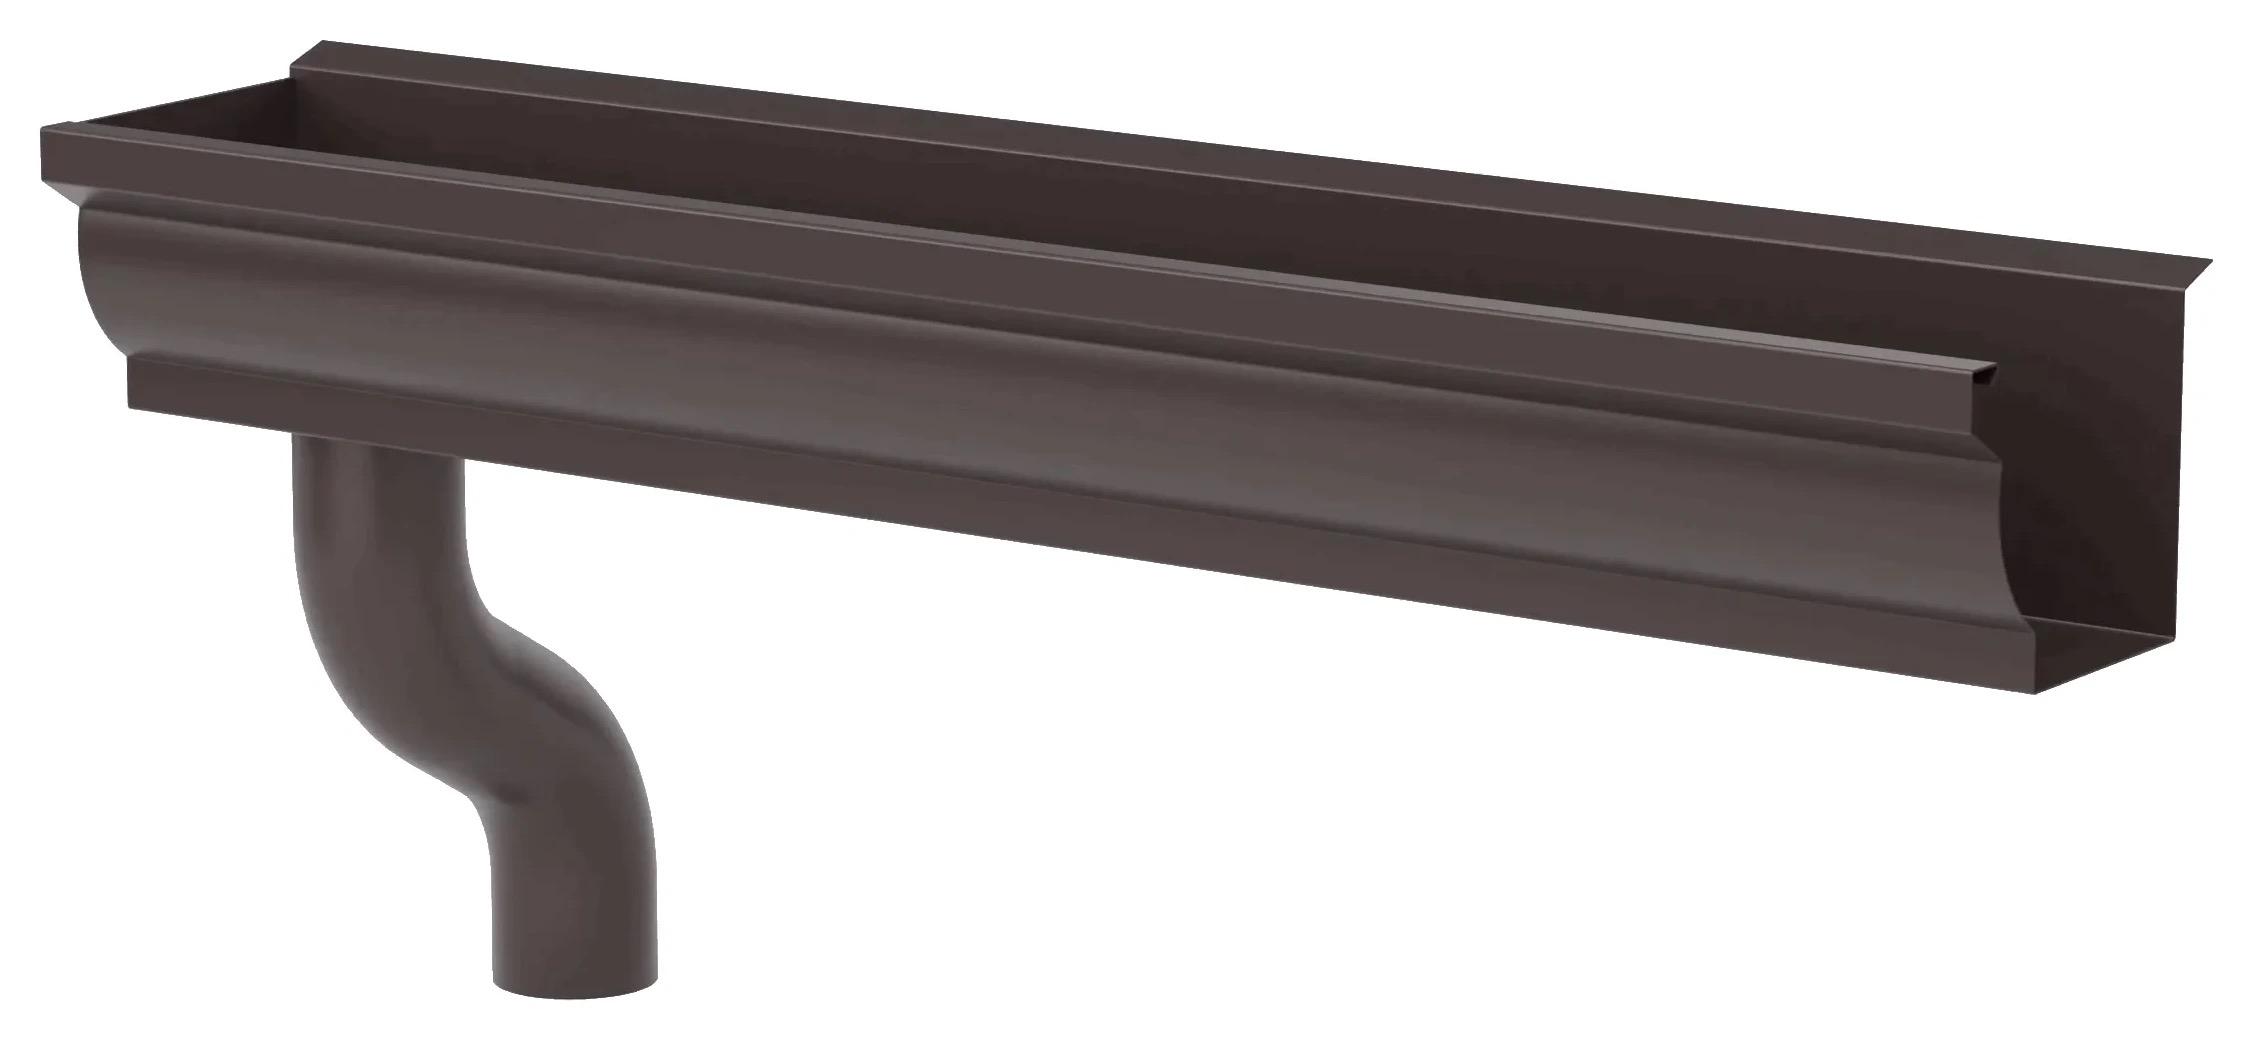
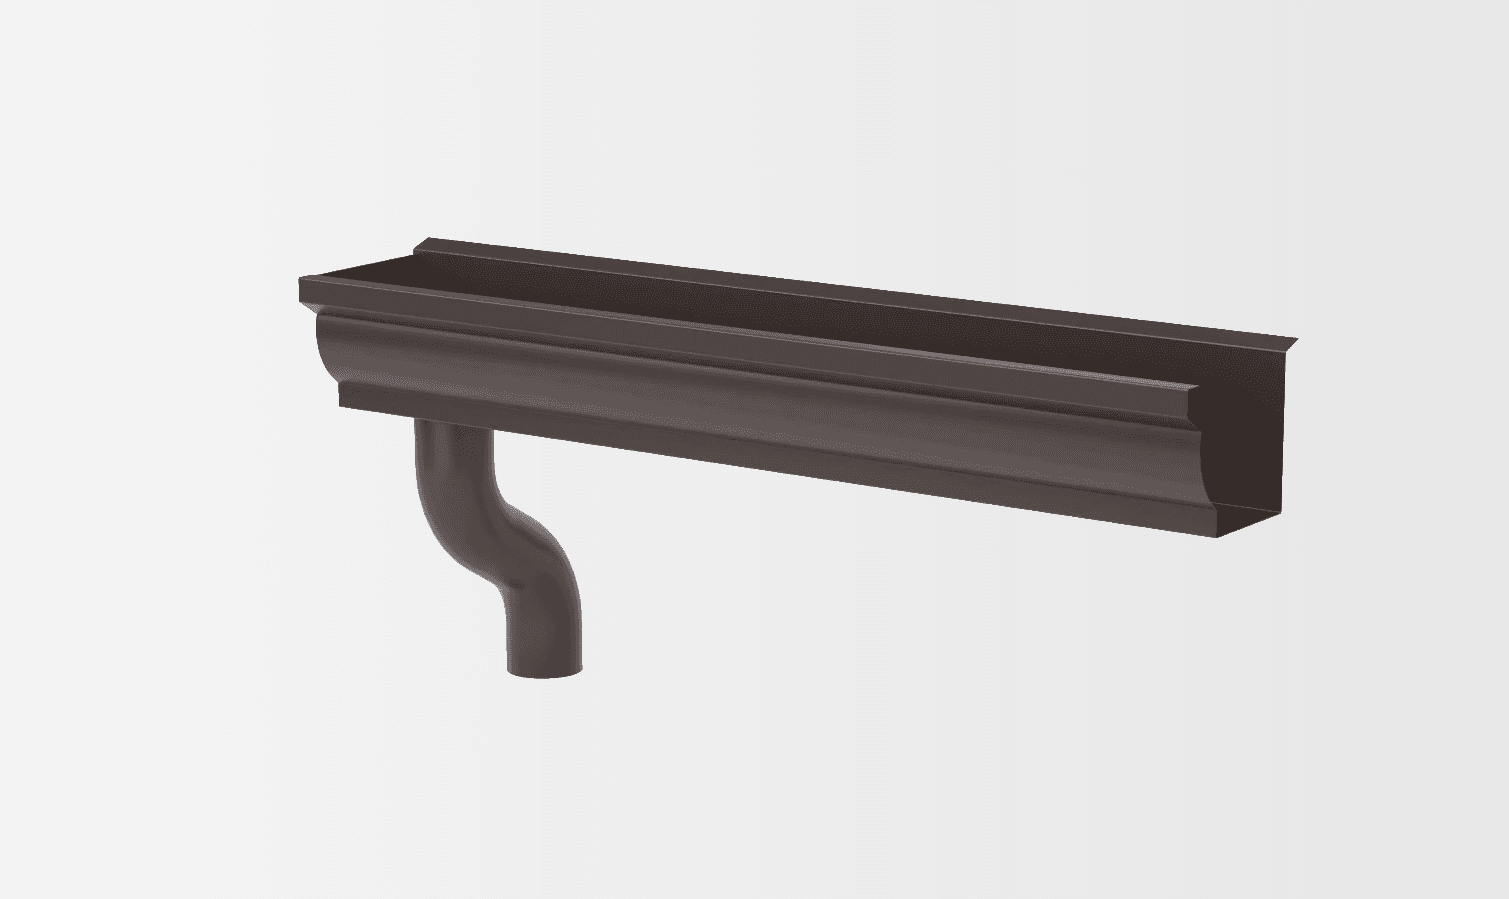
Design profiles — box, trapezoidal, ogee-style mouldings — can't be sized straight off the half-round gutter tables.
EN 12056-3, the European standard for roof drainage, calculates the capacity of non-half-round gutters from their own geometry rather than reading it from a half-round table. Spain's building code offers a useful rule of thumb that points the same way: for a box section, the equivalent cross-section should be 10% larger than a half-round gutter would need for the same roof area.
The reason is hydraulic. A box gutter has more wetted perimeter for the same flow area, which increases friction and slows the water down. It also collects more debris in the corners, which over time reduces the real cross-section available.
In practice, this means a design gutter isn't interchangeable meter for meter with a half-round one of the same apparent height. The numbers have to be redone.
Section 05
How to Measure the Girth of an Installed Gutter
On a replacement job, the girth can be measured directly on the existing piece, which saves all the calculation.
With a flexible tape measure, follow the profile along its inner face from the outer edge to the inner edge, tracing every curve and every fold. That length is the girth.
The usual mistake is measuring in a straight line from edge to edge. That distance is always smaller than the real girth, and a gutter made to it will come up short.
Section 06
Length, Thermal Expansion and Joints
There's one figure that never appears on an order but determines the installation: aluminum expands by about 0.024 mm per meter per degree Celsius.
An exposed roof goes from below-zero temperatures on a winter night to very hot surfaces on an August afternoon. With a 60 °C swing, a 10-meter run moves by around 14 millimeters.
That movement isn't negotiable. If the gutter is restrained at both ends, it turns into buckling, dents or an opened joint.
That has two consequences for the order. On runs longer than 10 or 12 meters, expansion joints should be planned — and decided when ordering, not when installing. And joints between pieces should be lapped in the direction of flow, leaving the necessary play, so the water runs over the joint rather than against it.
Section 07
Corners and Ends: How to Count Them
Going round the perimeter on the drawing and marking every change of direction and every end gives you the full parts list:
- External angles, at every corner that turns outward.
- Internal angles, at every corner that turns inward. These are the ones that get forgotten.
- Stop ends, at every point where the gutter finishes.
- Outlets, with the position and diameter of each downpipe.
Counting on the drawing is far more reliable than counting from memory on site, and it's the same list you'll later use to check the delivery.
Section 08
A Note on Hydraulic Sizing
This article is about measurements and how they translate into manufacturing. Working out which cross-section you need — the design rainfall intensity for the site, the roof area in plan, and the gutter and downpipe tables of BS EN 12056-3 — is covered step by step in our guide to installing and sizing rainwater gutters.
The right order is always the same: first calculate the required cross-section, then translate it into girth.
Section 09
Industrias Mas Rainwater Gutters: Specifications
IMS rainwater gutters are made to measure for roof drainage, in classic and design profiles.
- Materials: polyester-lacquered aluminum, zinc and galvanized steel.
- Finishes: RAL color chart, zinc-titanium and galvanized.
- Manufacturing: made to measure in girth and length, as well as the standard profile range.
- Profiles: half-round and design, with the option of reproducing an existing profile on refurbishment work.
- Accessories: external and internal angles, stop ends, downpipes, bends and support brackets.
- Delivery: to site across Spain, and to the UK, Ireland, France, Poland and Germany.
- Certification: ISO 9001:2015.
This line pairs with ALU-CLICK® wall copings and VENTUM® chimney and ventilation caps when the project needs a consistent look across the whole building envelope.
Section 10
How to Order a Made-to-Measure Gutter Without Mistakes
- Girth, or the required cross-section if the calculation hasn't yet been translated into a manufacturing size.
- Length of each straight run, listed separately rather than added up.
- Number of external and internal angles.
- Number of stop ends.
- Number, position and diameter of the downpipes.
- Material and finish.
- Type of support planned and bracket spacing.
Section 11
Common Mistakes on Site
- Ordering by diameter when girth was needed, or the other way round.
- Measuring the girth in a straight line from edge to edge instead of following the contour.
- Adding up the total length without listing the runs, so neither the pieces nor the angles work out.
- Switching from half-round to box section without recalculating the equivalent cross-section.
- Not planning expansion joints on long runs.
- Forgetting the internal angles at courtyards and set-backs.
FAQ
Frequently asked questions
What girth do I need for my roof?+
It depends on the roof area served and the design rainfall intensity for the site, not on a general rule. The process is: calculate the required cross-section with the EN 12056-3 method, choose the geometry and translate it into girth. If you send us the roof area and the location, we'll propose the sizing.
How do I measure the girth of a gutter that's already installed?+
With a flexible tape, following the inner contour of the profile from edge to edge, tracing every curve and fold. A straight-line measurement between the edges is no good: it's always smaller than the real girth.
Can I fit a gutter with a bigger girth than the old one?+
Yes, as long as the supports allow it and there's room at the eaves. It's a common fix when the original gutter was undersized — which happens often on buildings designed without allowing for local rainfall intensity — or when the roof area has been extended.
What's the maximum length of a single piece?+
It's limited by transport and by handling on site. Long runs are made from several pieces joined by lapping, with expansion joints planned in. An excessively long piece is harder to get up to the roof and can't accommodate thermal movement.
Can you make a profile that isn't in the catalog?+
Yes. As well as the standard profile range, we manufacture to measure in girth and length, which lets us reproduce an existing profile on refurbishment work or match a project detail.
How far apart should the brackets be?+
The usual reference is 50 to 60 cm, reduced in snowy areas, where the load on the gutter is far higher than that of water. It's also worth placing a support within 15 cm of every joint and every end.
Can you reproduce the old gutter on a listed building?+
In many cases, yes. With the girth measured on the existing piece and a cross-section of the profile, we can assess the reproduction.
Got an eaves to measure and not sure what to send?+
Send us a photo of the existing gutter with a tape laid along the contour, or the roof area and the location, and we'll tell you the girth you need.
Share