Key takeaways
3 min read
Key point 1
Installing the VENTUM® requires no mortar, silicone, or special tools: just a drill, an M6 socket wrench, a spirit level, and a tape measure.
Key point 2
Before going up on the roof, test the dry fit; the VENTUM® is manufactured with a 3 mm technical clearance per face so it seats without forcing.
Key point 3
Tighten the screws in a crossed sequence (as when mounting a wheel) to distribute pressure evenly and avoid warping.
Key point 4
An annual visual inspection is enough for static models; in coastal areas, increase the frequency to twice a year.
In this article
Installing a VENTUM® chimney cap is simpler than it looks. It requires no mortar, no silicone, no site work. What it does require is that the order's measurements are correct, that the piece reaches the roof undamaged, and that fixing is done carefully. Most installation problems trace back to one of these three points.
Section 02
Before You Start: Check the Measurements
The VENTUM® is manufactured to the exact measurements you provided when requesting the quote, applying a 3 mm technical clearance per face. Before lifting the piece onto the roof, test the dry fit at ground level if you can do so safely. If there's noticeable resistance, check the surround's perimeter: a mortar burr or a protruding joint can prevent the fit without it being a manufacturing error.
Section 03
Tools You'll Need
A drill with a bit suited to concrete or brick depending on the surround's material, a socket wrench for hex-head M6 screws, a spirit level, a tape measure, and the M6×50 mm screws with nylon wall plugs included in the order. You won't need silicone, sealant, or any other sealing product.
Section 04
Fixing: Correct Order and Tightening
Position the cap centered on the surround, drill the fixing points through the profile's flanges, and fit the screws in a crossed sequence without fully tightening them. Once all screws are in place, check the level and tighten fully in that same crossed sequence. Uneven tightening can slightly warp the profile on large pieces and create gaps at the corners.
Section 05
Maintenance After Installation
An annual clean with water and mild soap is enough to maintain the powder-coated finish. Check the screws are tight every year, especially after the first winter, since thermal expansion and contraction can slightly loosen the fixing. For mechanical models, clean the motor blades and check the wiring annually. If the cap is in a coastal area, increase the inspection frequency to twice a year.
Step by step
How to Install a VENTUM® Chimney Cap
- Before going up on the roof: check that the cap matches the surround's measurements. The VENTUM® is manufactured with a 3 mm technical clearance per face, so it should go onto the surround without forcing. If there's resistance, don't strike it: check the corners are clear of construction burrs.
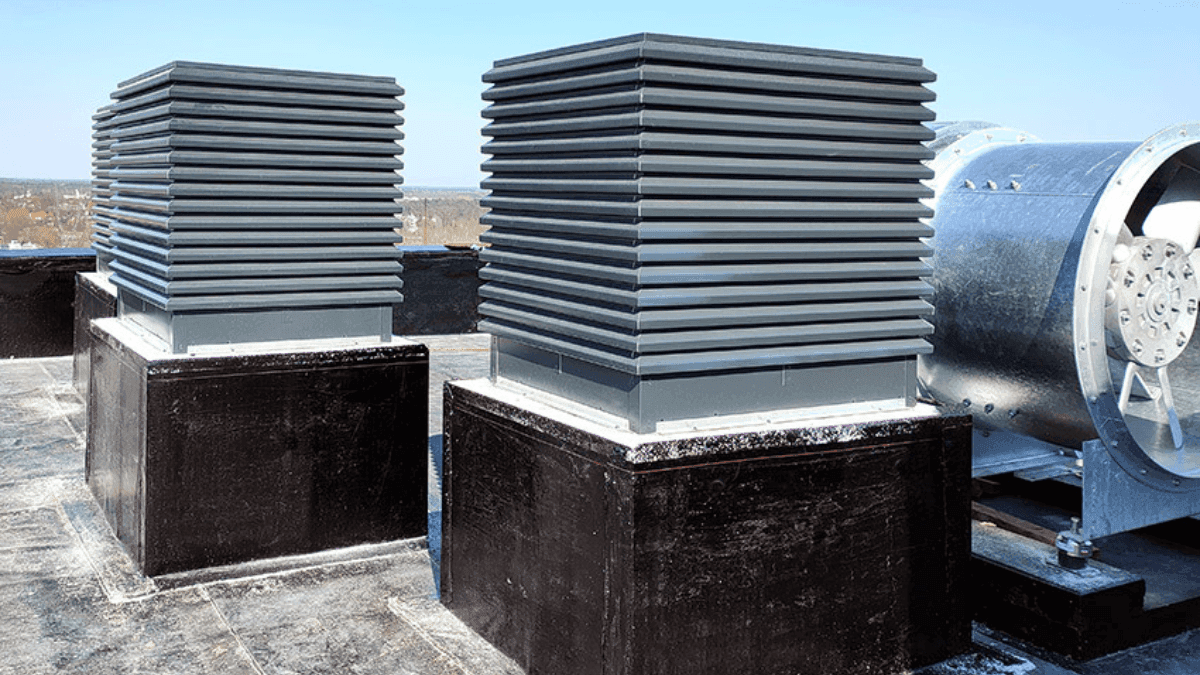
- Position the cap on the masonry surround, centering it on all four faces. Fixing is done with the M6×50 mm hex-head screws and nylon wall plugs included in the order. Drill the surround's faces through the cap's flanges and fit the screws without fully tightening them yet.
- Check the cap's verticality with a level before fully tightening the screws. A tilted cap reduces suction efficiency and can collect water on one side.
- Tighten the screws in a crossed sequence (as you would when mounting a wheel) to distribute the pressure evenly. Don't apply silicone: the made-to-measure fit guarantees a seal with no additional sealant needed.
- For mechanical models: connect the motor's wiring to the power supply following the manual's diagram. Check that the motor starts correctly and that the extraction direction is right before considering the job finished.
FAQ
Frequently asked questions
Do I need a professional to install the chimney cap?+
For the static model, no. Installation is mechanical: the cap sits on the surround and is fixed with hex screws and wall plugs. You just need a drill and two people to safely handle the piece on the roof. For the mechanical model, the electrical connection should be done by an electrician if you have no experience with low-voltage installations.
What do I do if the cap doesn't fit the masonry surround?+
The most common cause is a mortar burr or a protruding edge on the surround. Clean the surround's top perimeter and try again. If the problem persists, call Industrias Mas before forcing the piece: it's likely the measurements provided didn't match the finished surround, and a replacement piece can be manufactured within a few days.
Do I need to seal the chimney cap with silicone?+
No. The VENTUM® is manufactured to measure with a 3 mm tolerance per face for a correct fit with no sealant needed. Applying silicone where it isn't needed creates dirt build-up points and makes it harder to remove for maintenance. If you see a visible gap after installing, the surround's measurements were probably not exact.
How often should the installed cap be checked?+
An annual visual inspection is enough for static models: check the screws are still tight and there's no visible warping. For mechanical models, also check the motor every year: clean the blades and verify the wiring. In coastal areas, increase the frequency to twice a year.